HM+2.jpg

BLOG

A Day in Joondalup, Blizzard Style!
IMG_0738.JPG

This is certainly a case of what we say haunts us.

Three days before school holidays commenced, I innocently said to Miss Five "sure, we can go to Build-A-Bear soon". Literally every. day. since. I have heard nothing but "when are we going to Build-A-Bear". So today, I made good on my "promise".

With my husband away, it was a perfect time to roadtest our activity trackers, get some shopping done with my two and not have to hide the haul in the boot for weeks claiming "this old thing" every time a new purchase was uncovered.

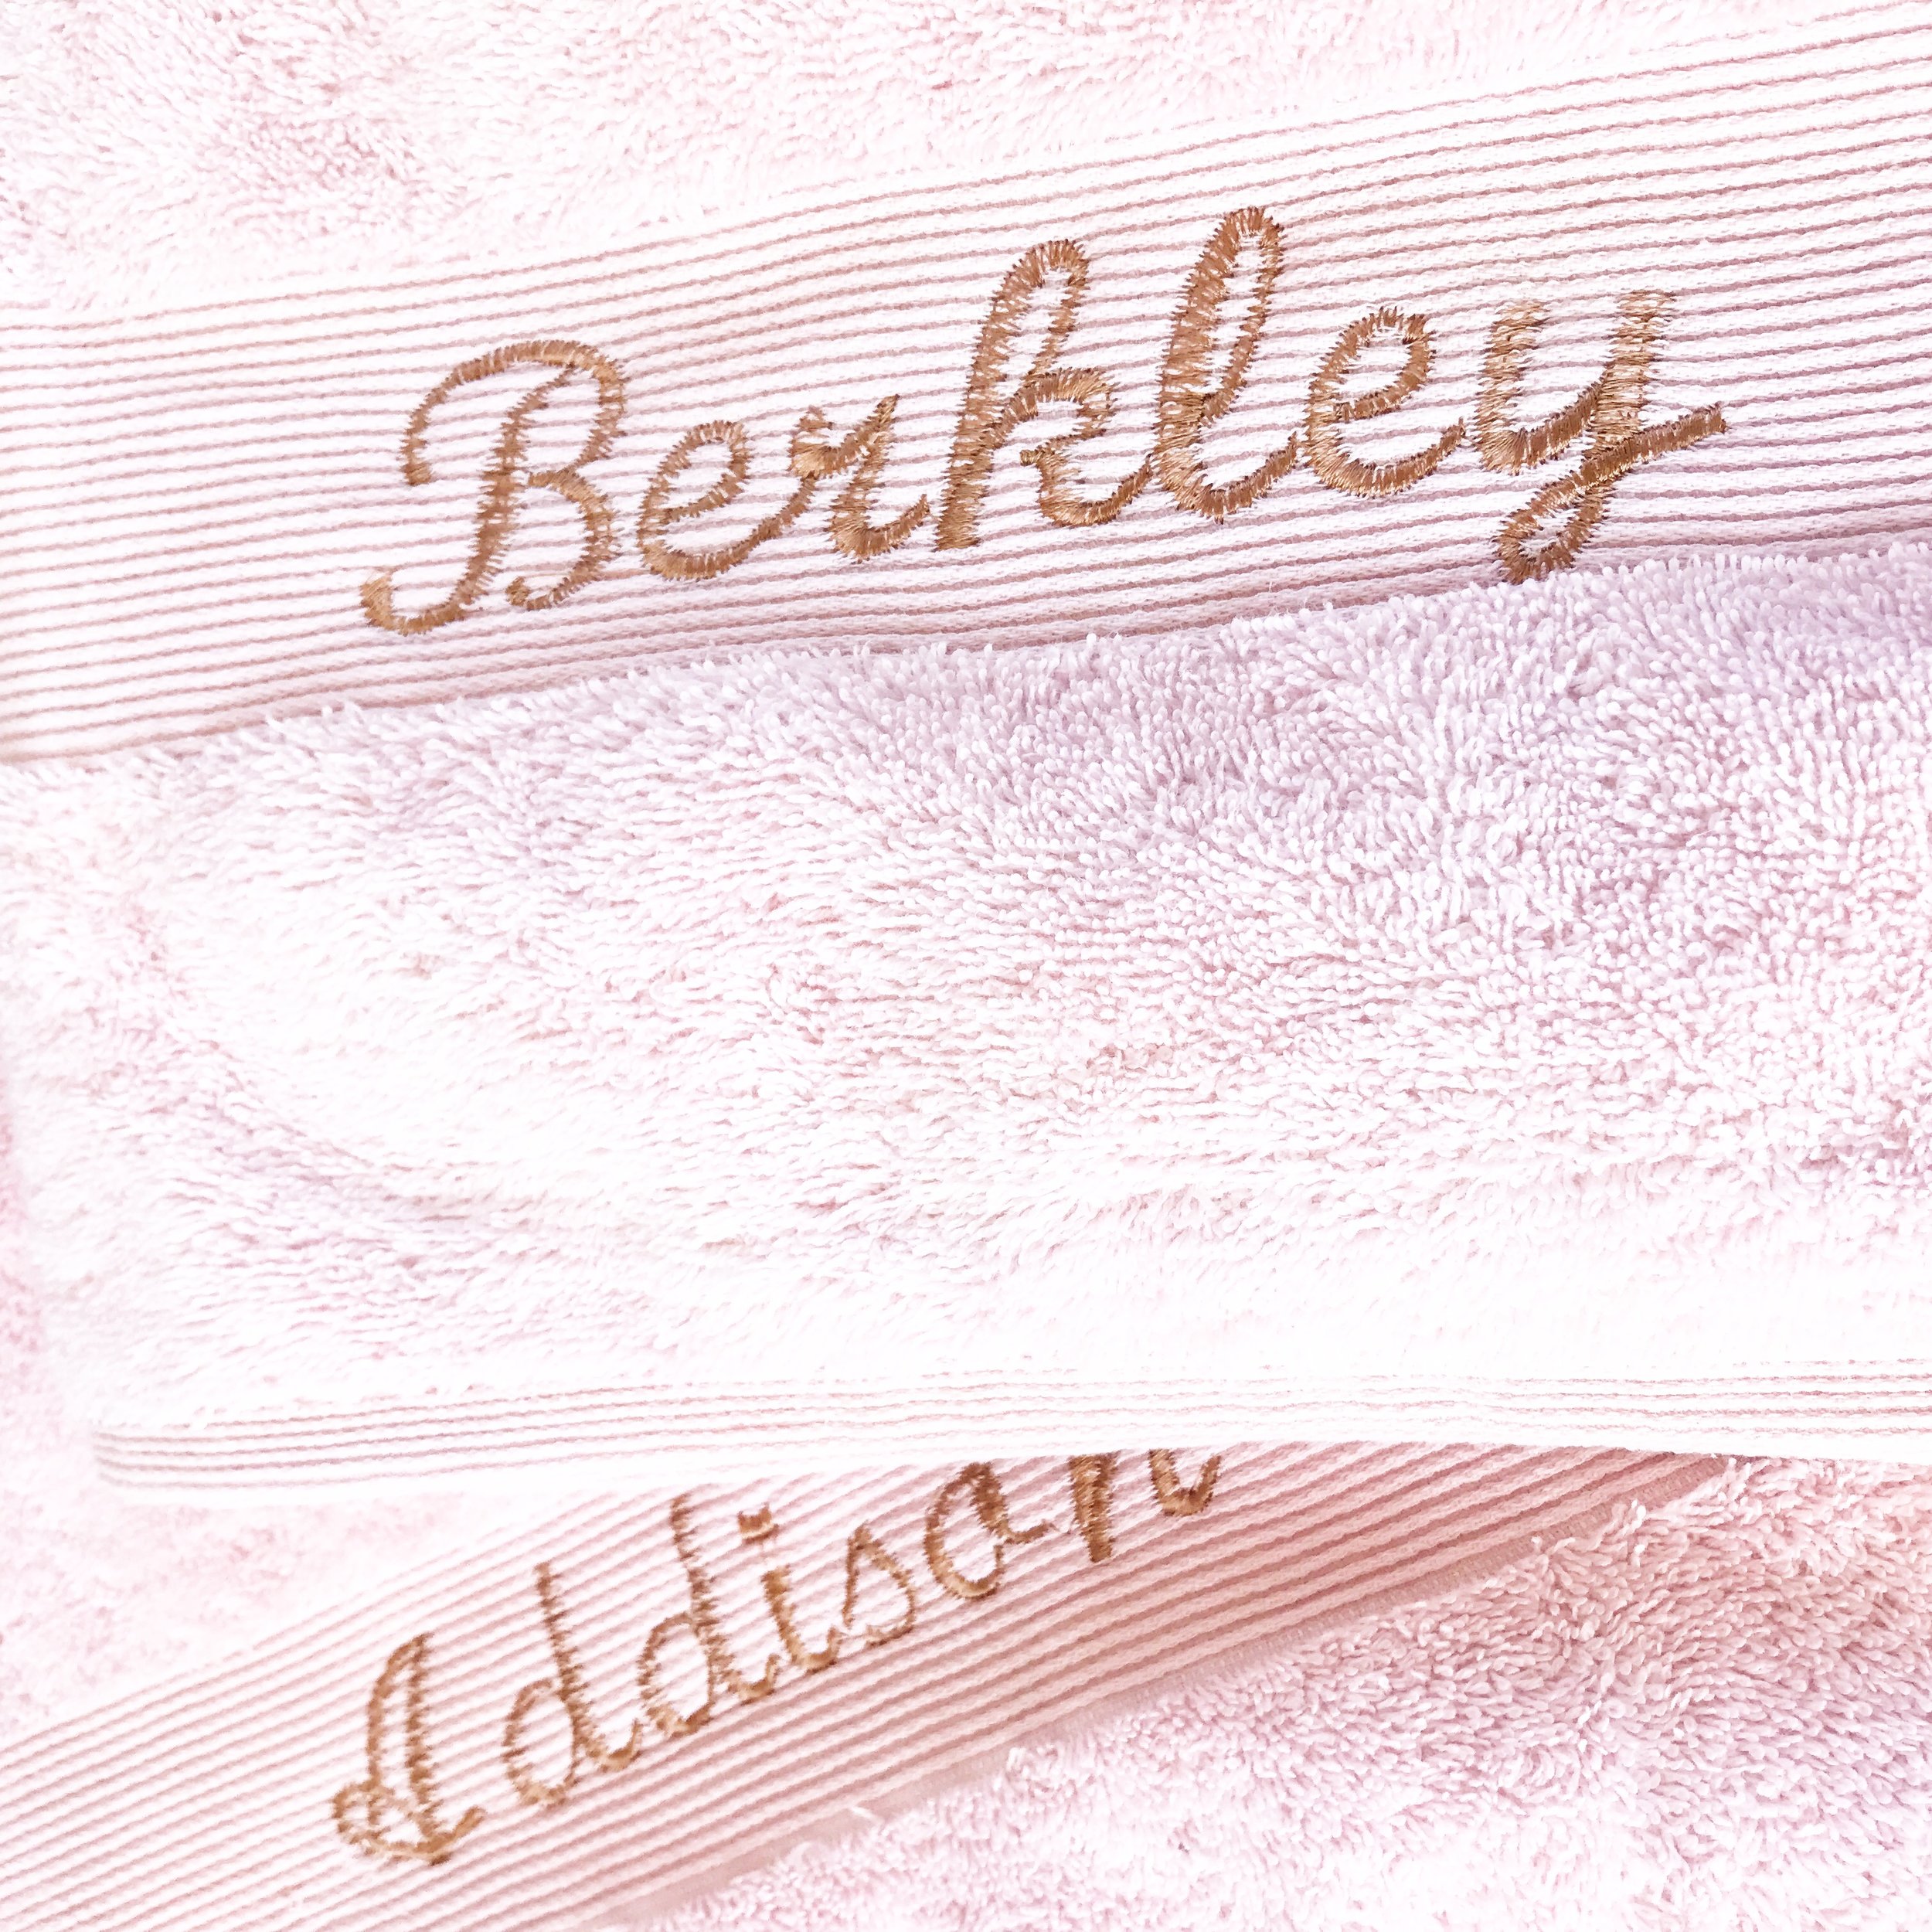
So, with Addison, Miss Nine (and a half), and Berkley, Miss Five (and half too Mummy) we took Lakeside Joondalup by storm.

Sadly, my purchases were completely boring with all 4 tyres due for replacement on my car, there was nothing left for shoes, bags or fun stuff for mummy. However, I have to say I was VERY IMPRESSED with the service I received at Kmart Tyre and Auto (go see Wade there, he is a LEGEND) and was even more thrilled to learn they offer to price-match, so my car's "new shoes" didn't hurt as much as I originally thought None-the-less, I am sure a nice pair of ballet flats would've been far more fun to shop for. So, with the car safely getting sorted, we didn't take our girl's shopping day task lightly.

With Berkley going into grade one, I had her eyes checked at Spec Savers. They were so thorough and really great with my nervous little girl. Somehow, she thought eye-testing involved poking her eyes out and once Optomotrist Craig made her feel safe (and she got an eye stress ball - eeeeew) we were off and racing for the "important" things.

IMG_0745 2.JPG
IMG_0747 2.JPG

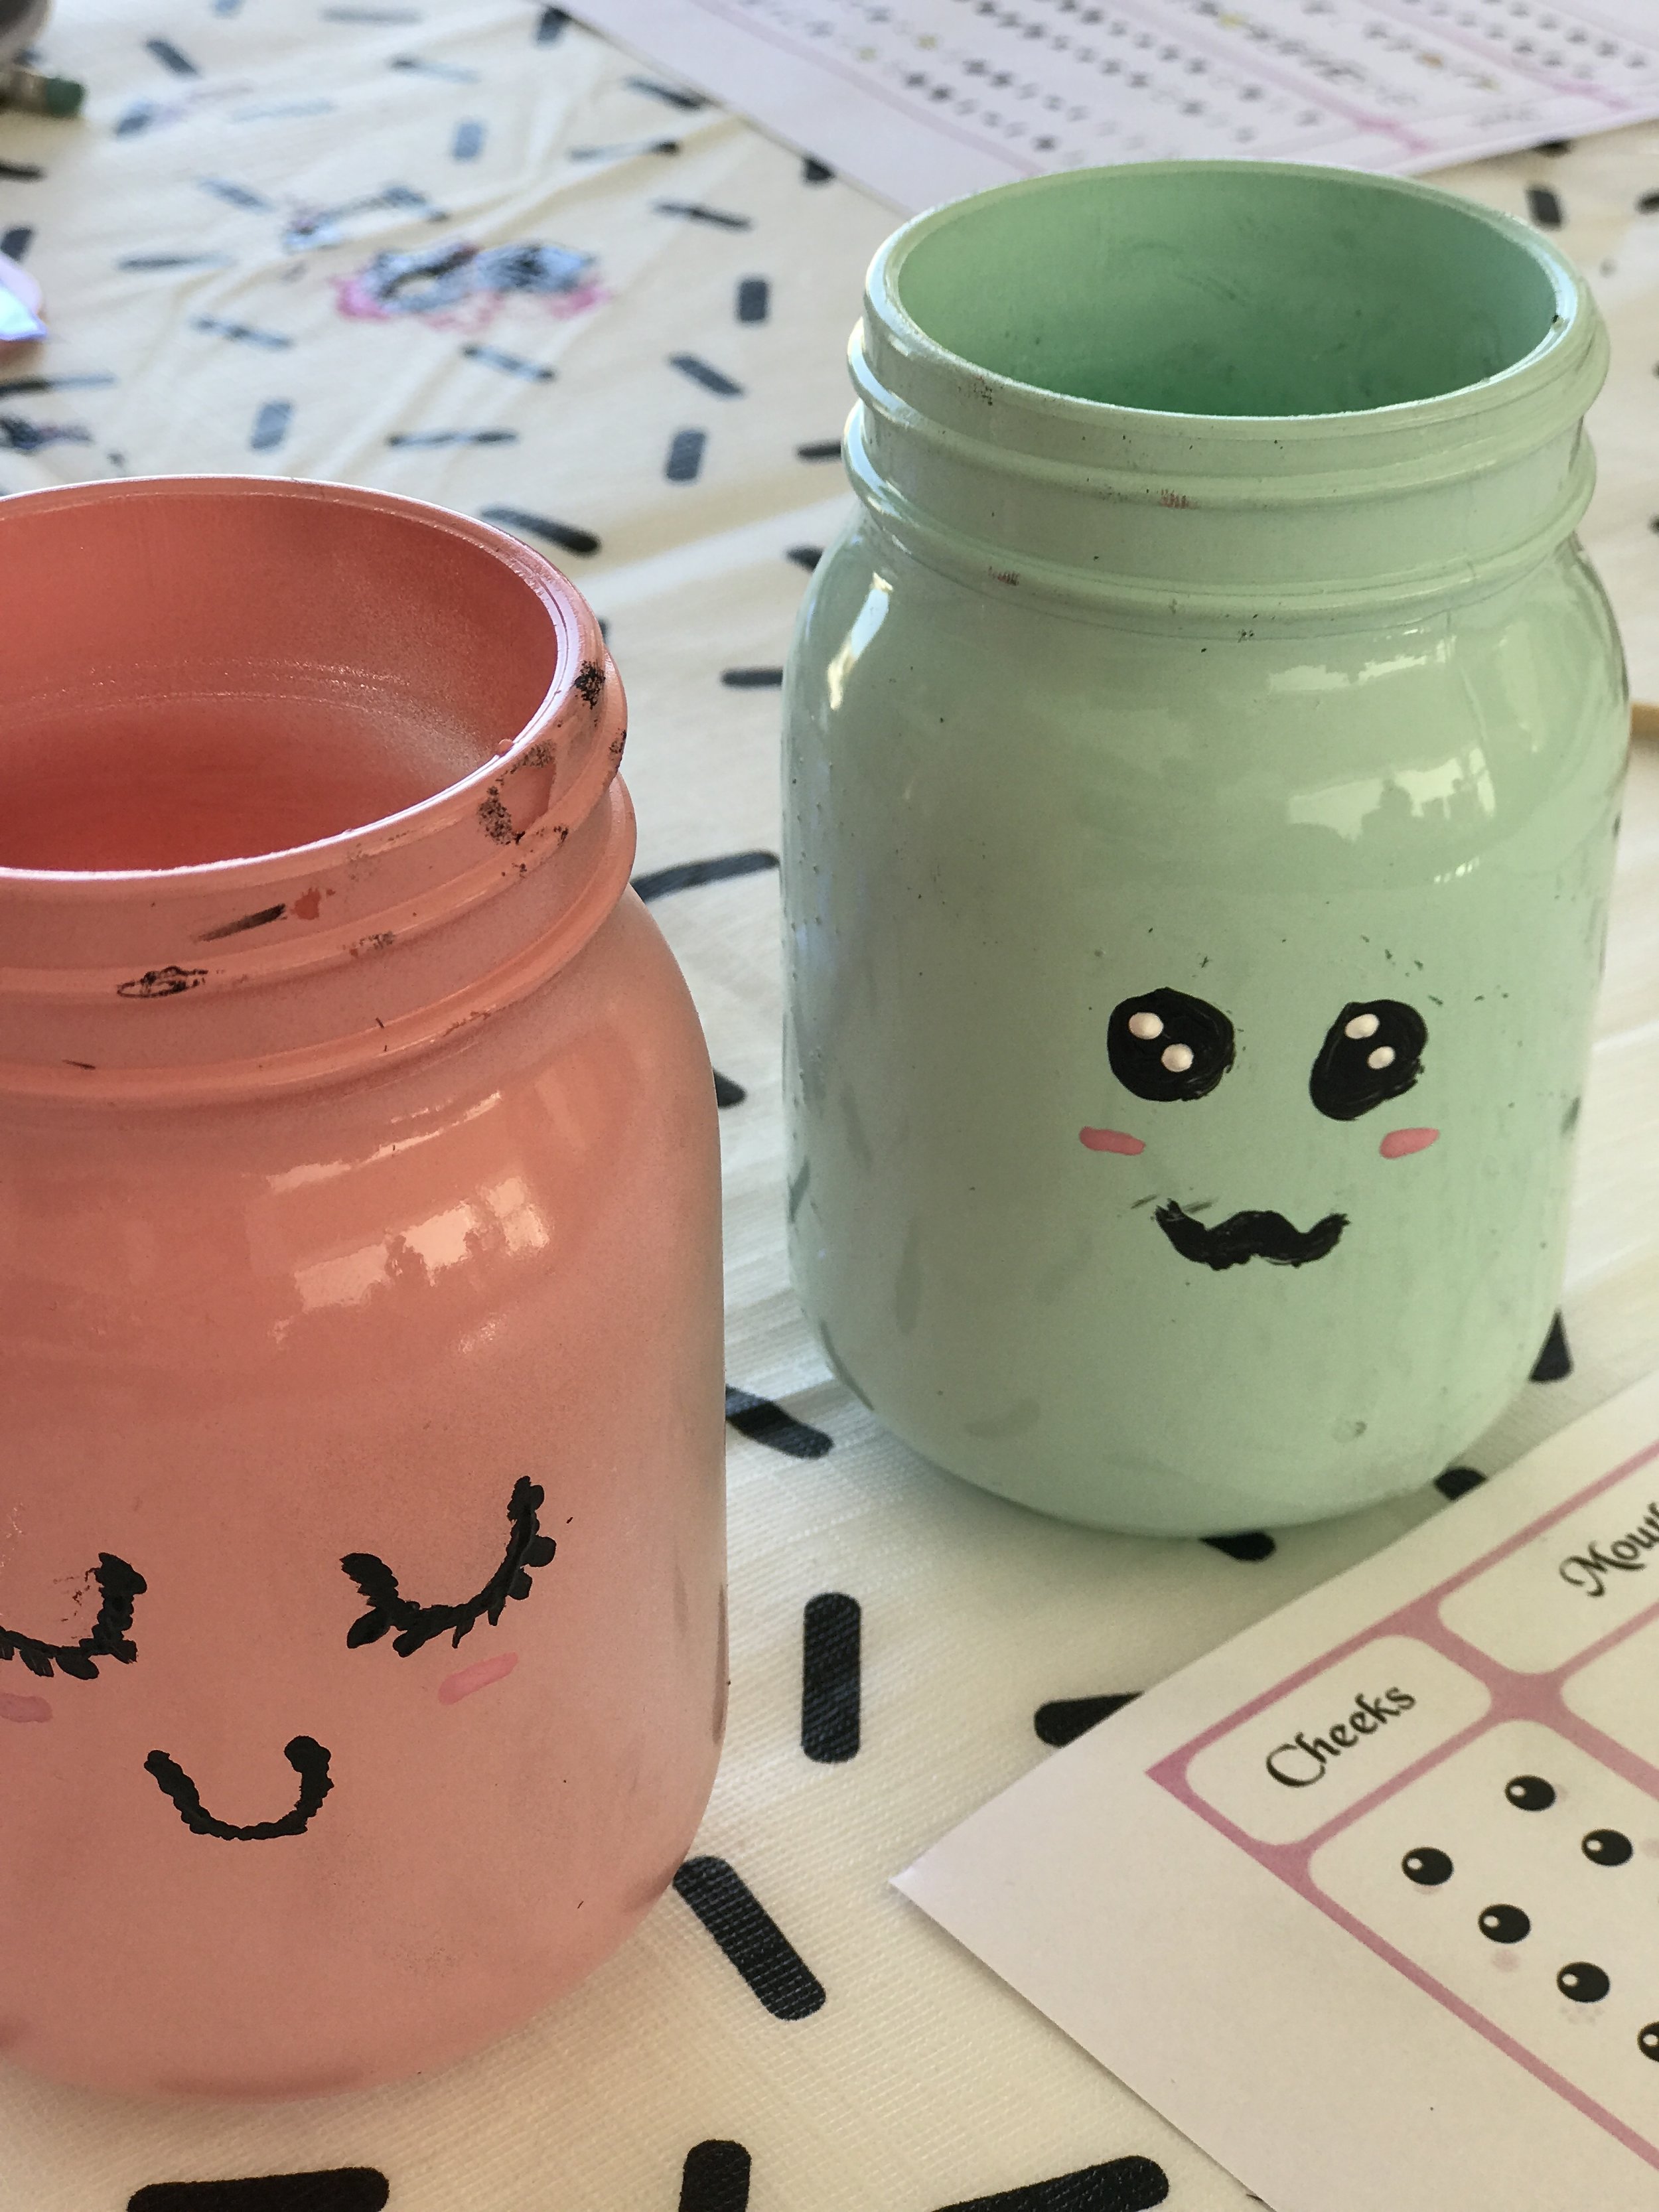
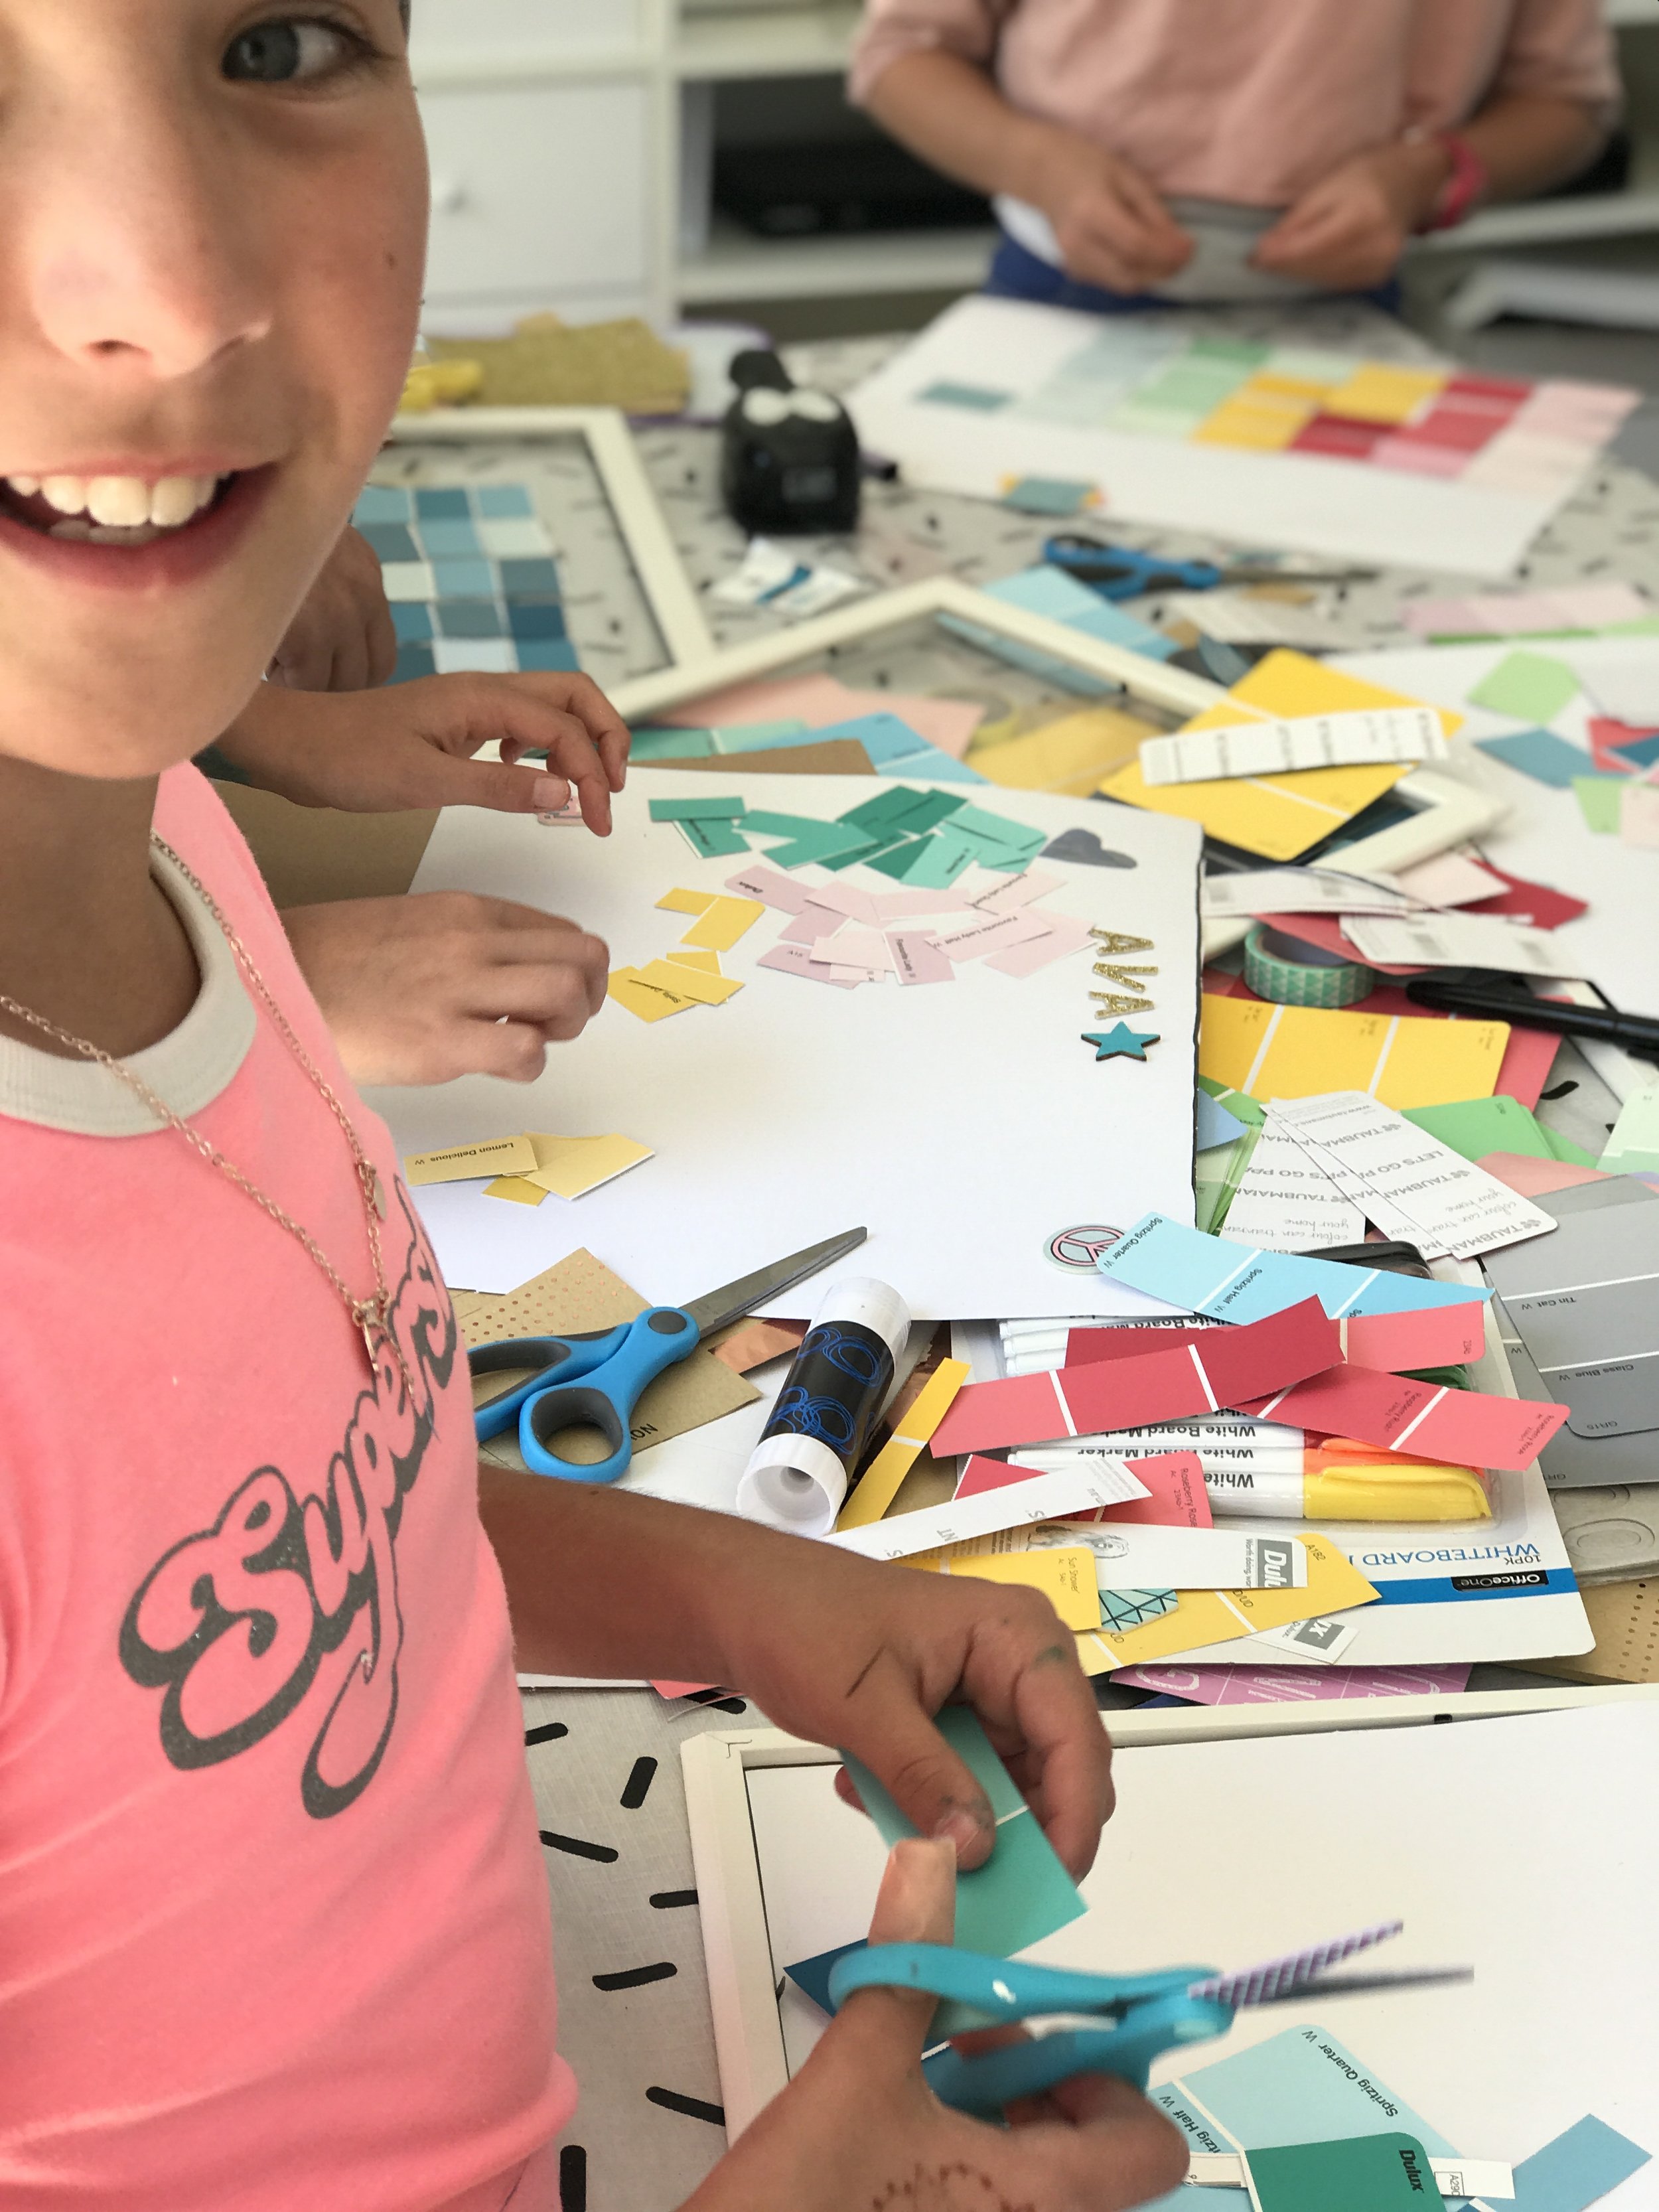
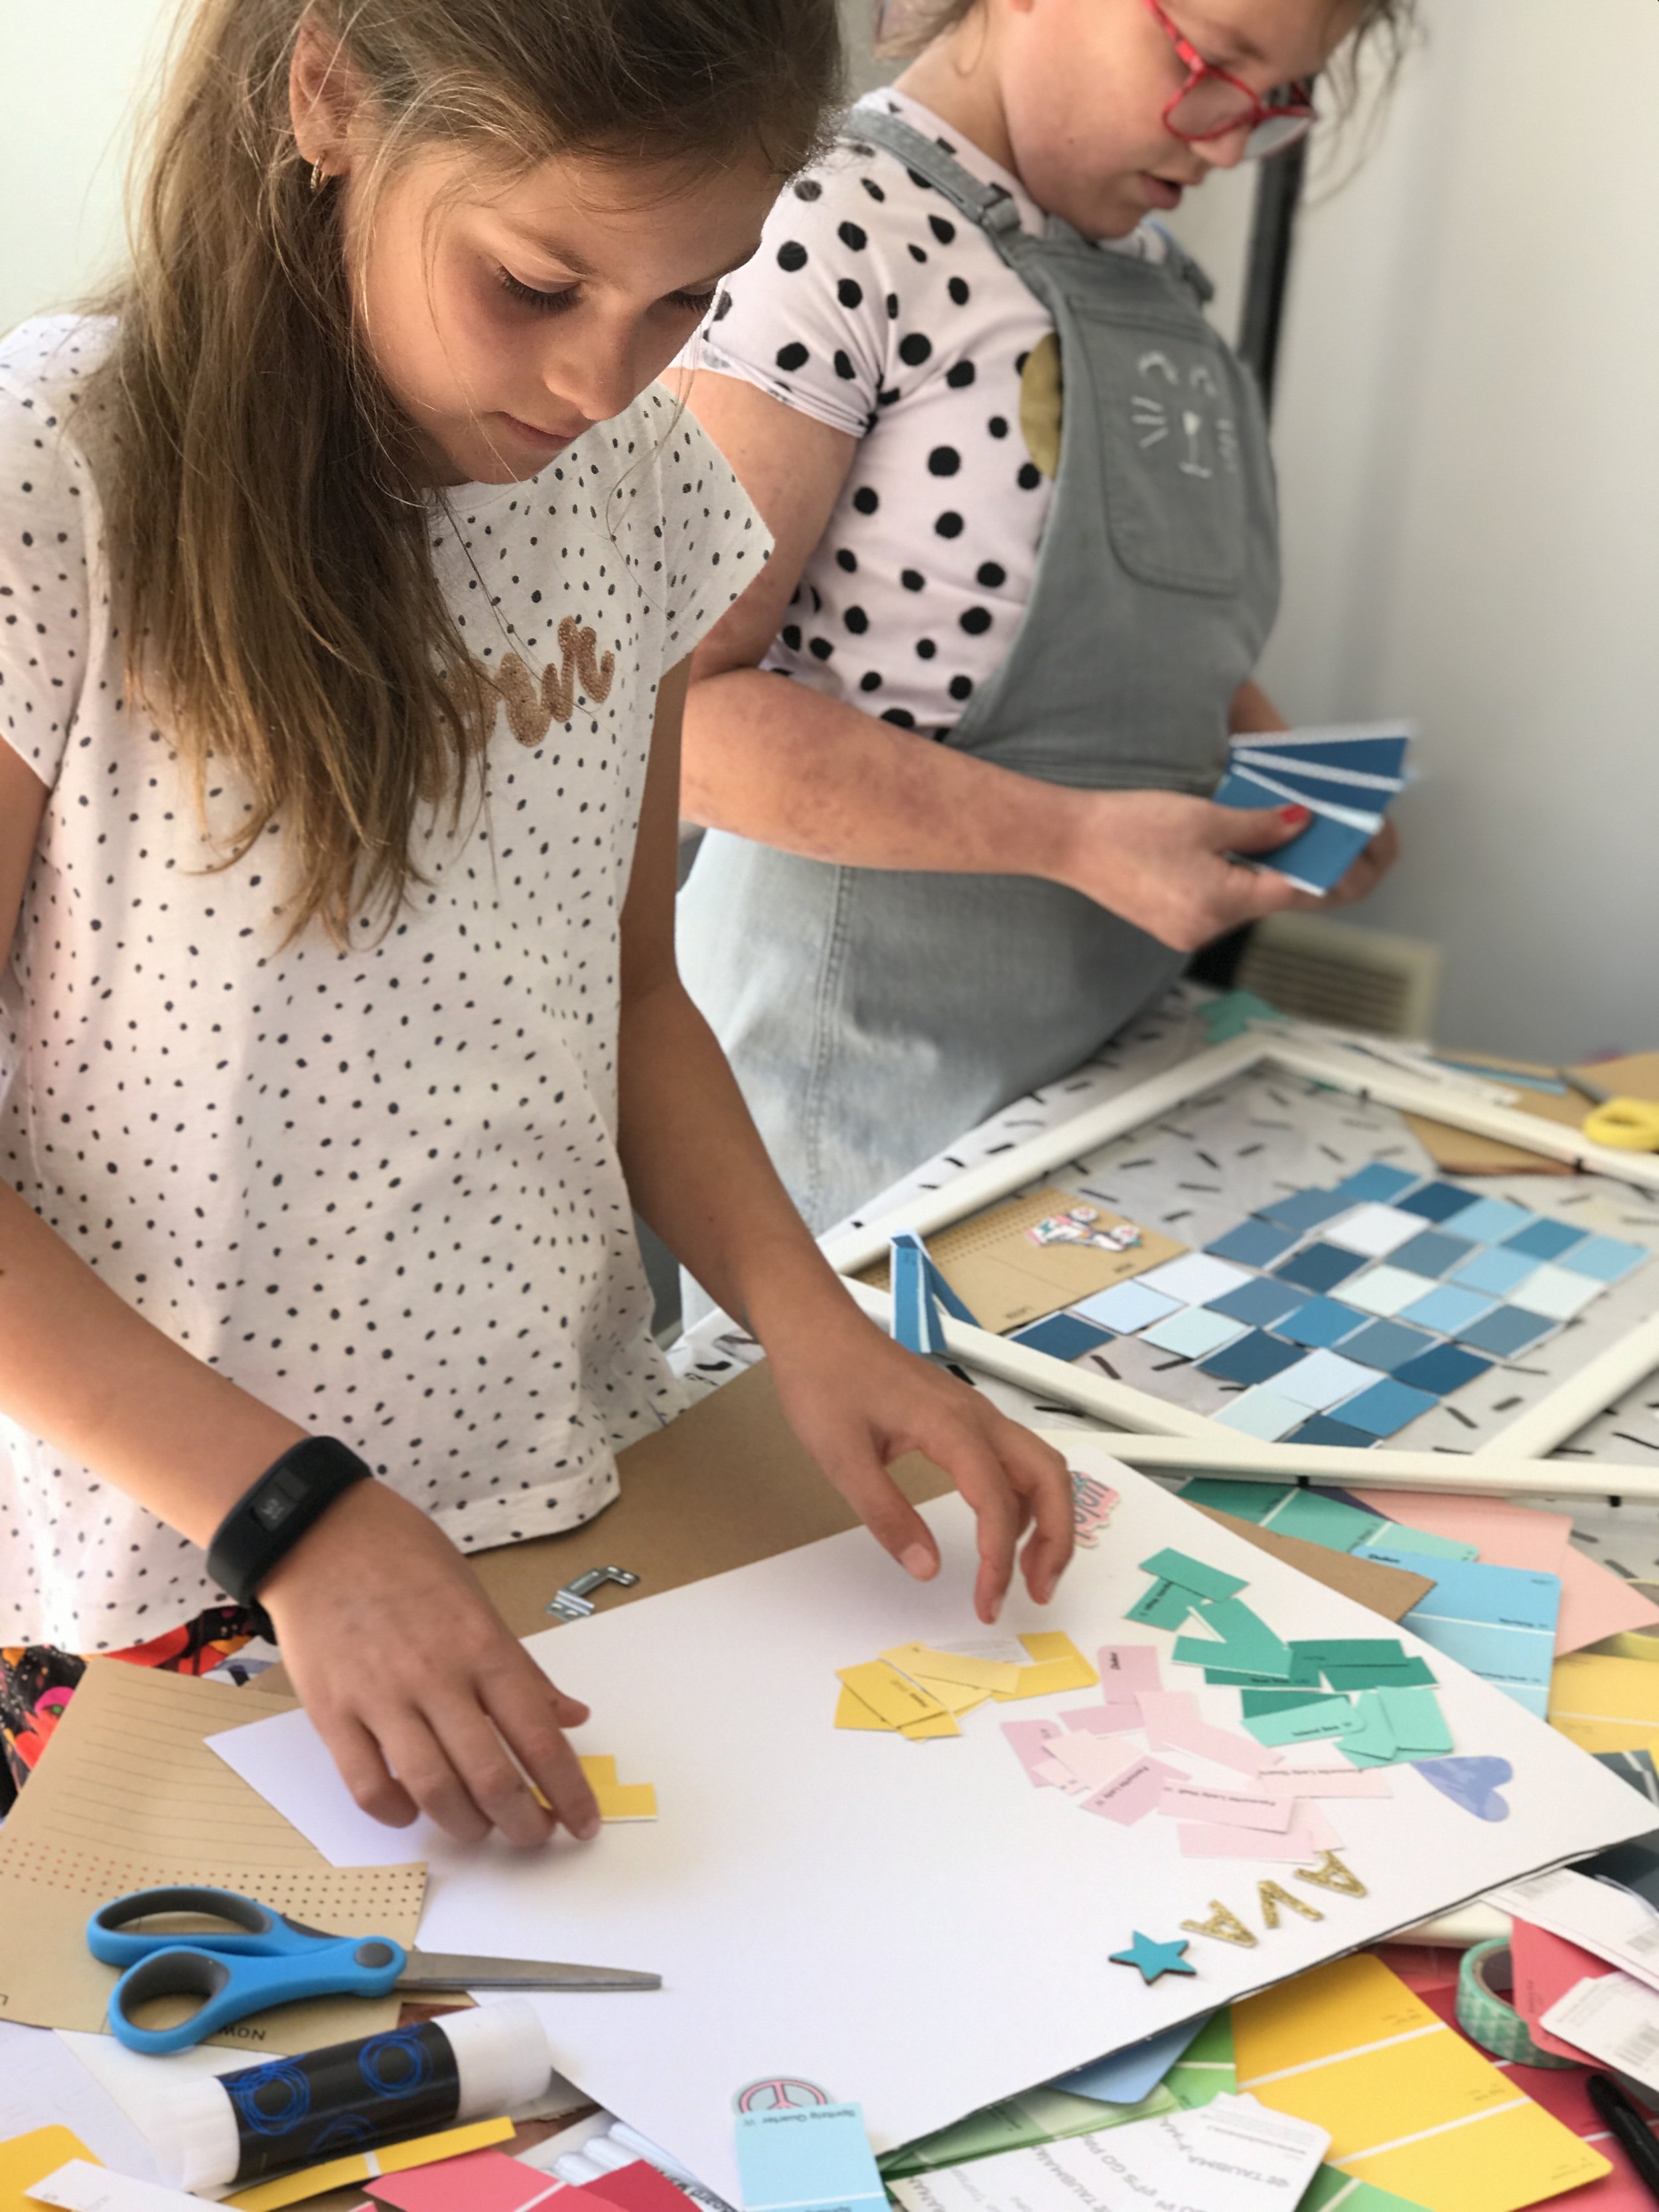
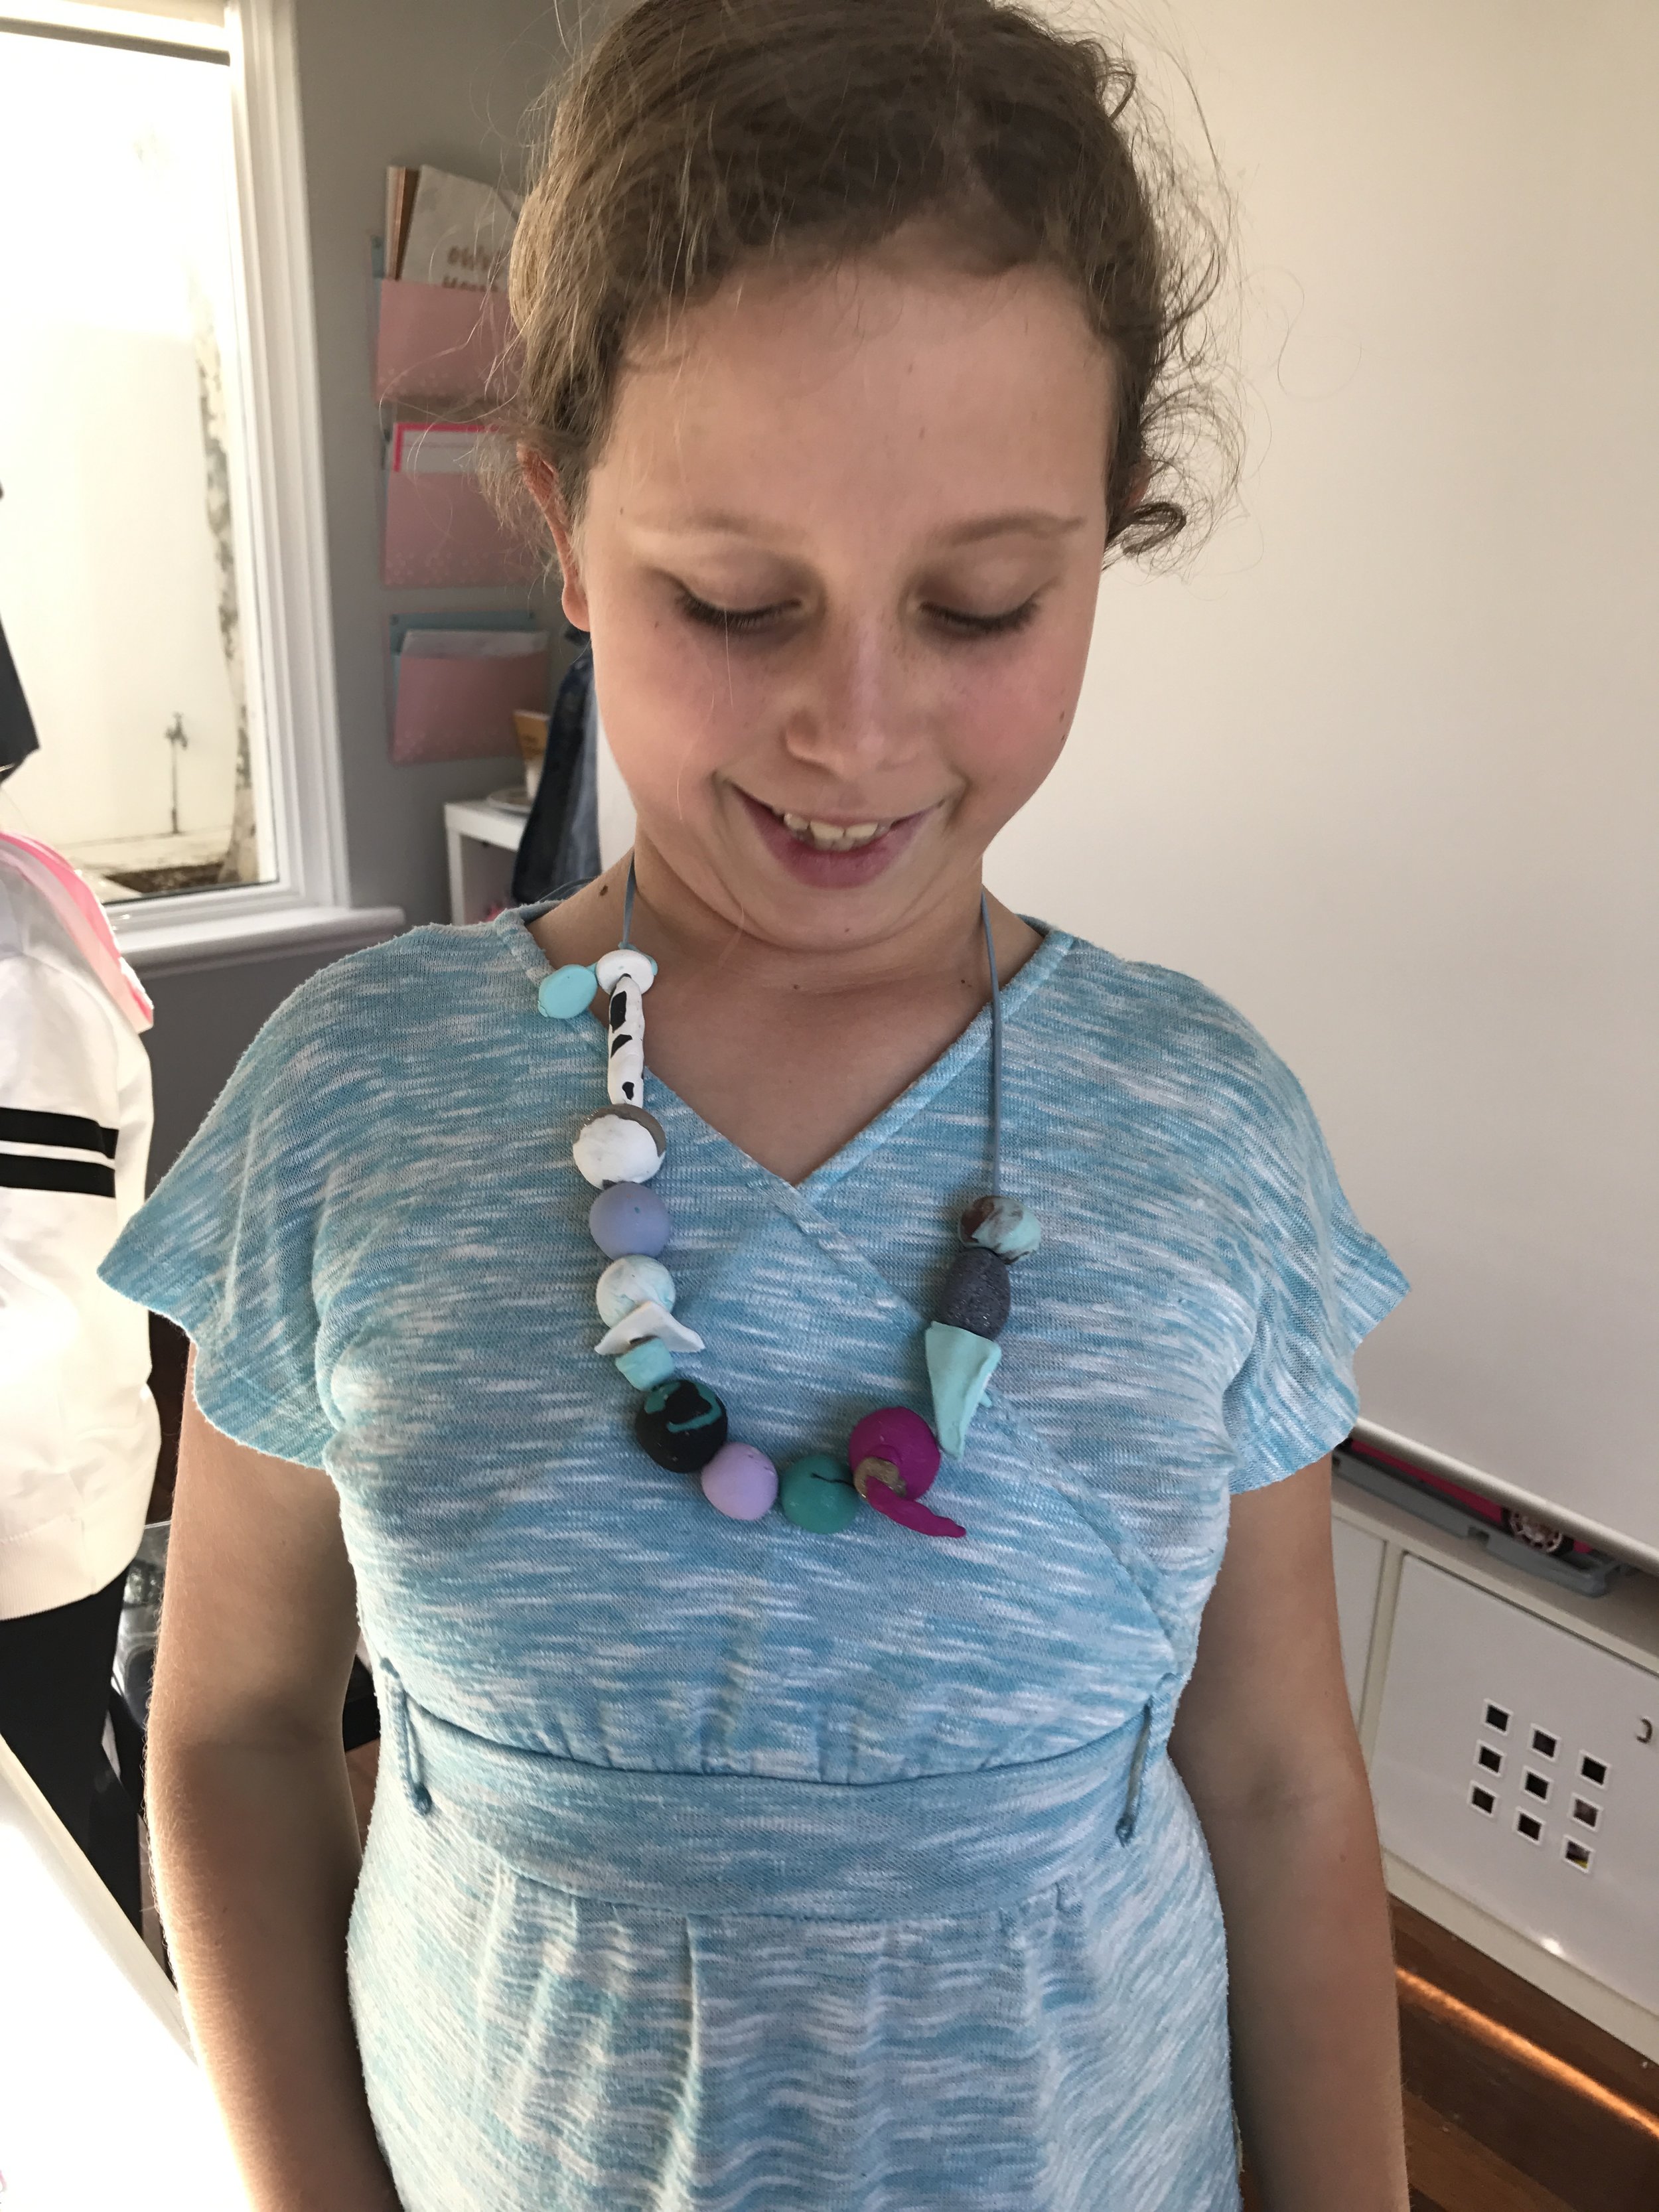
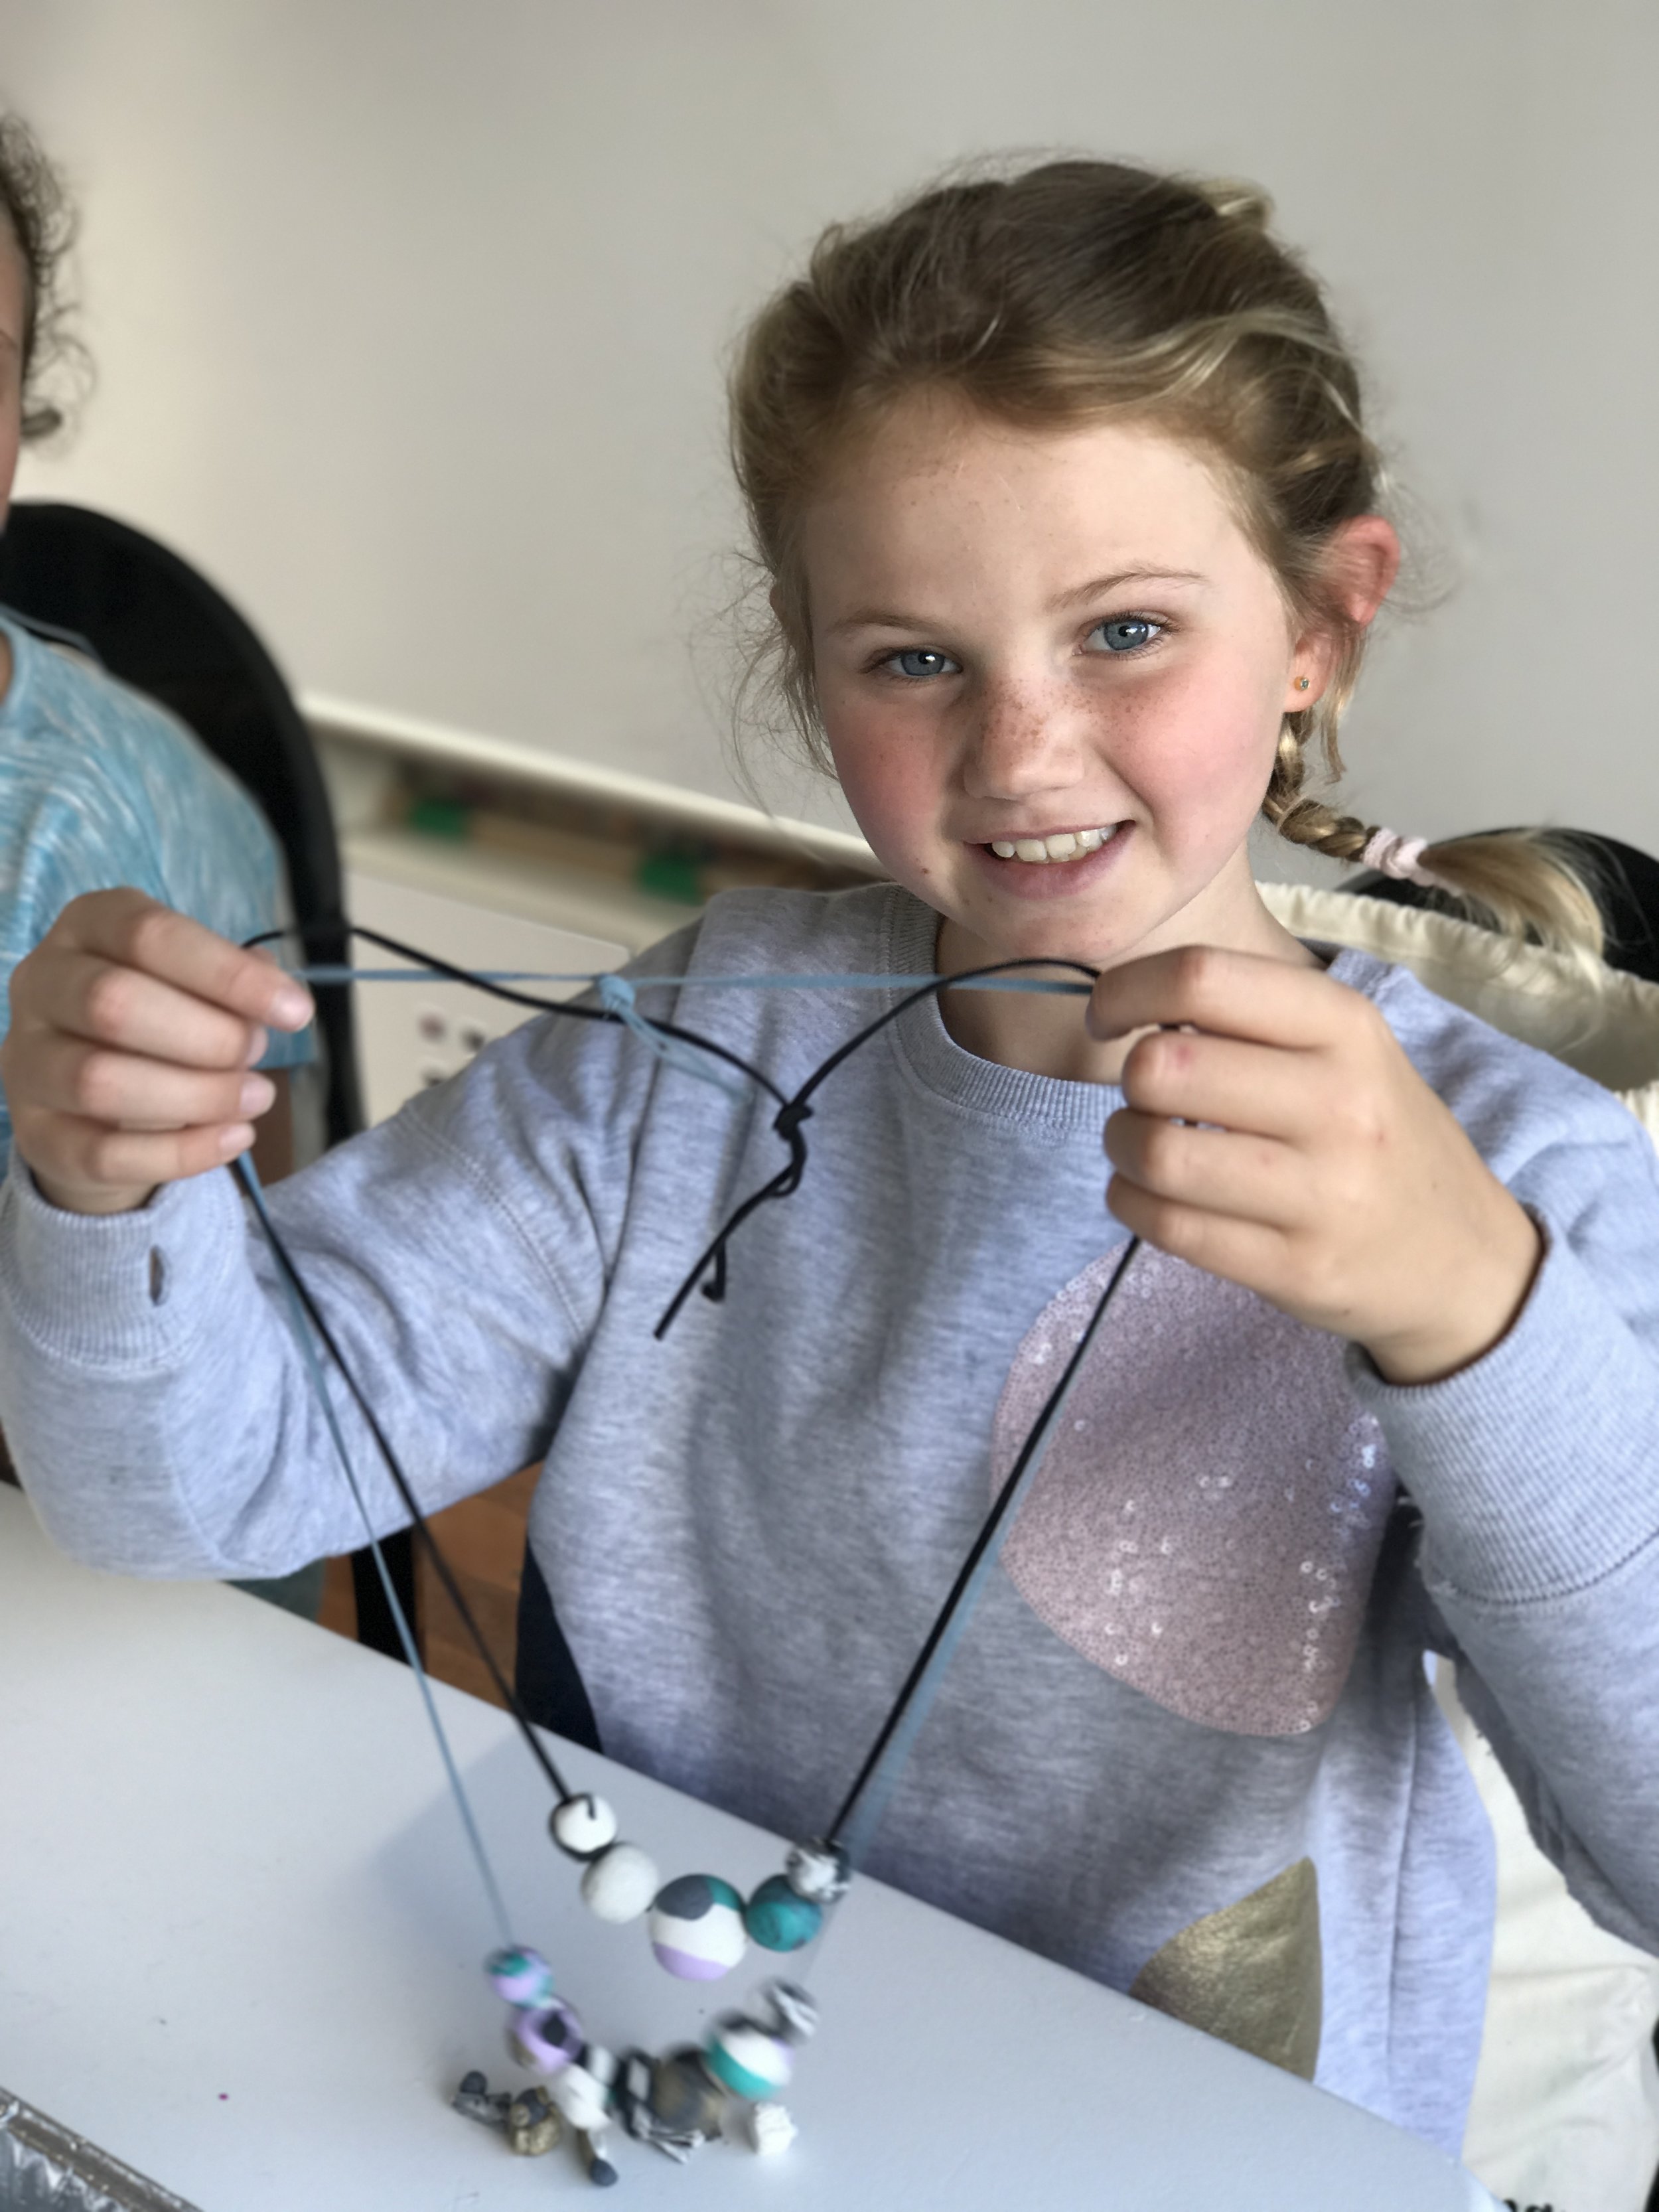
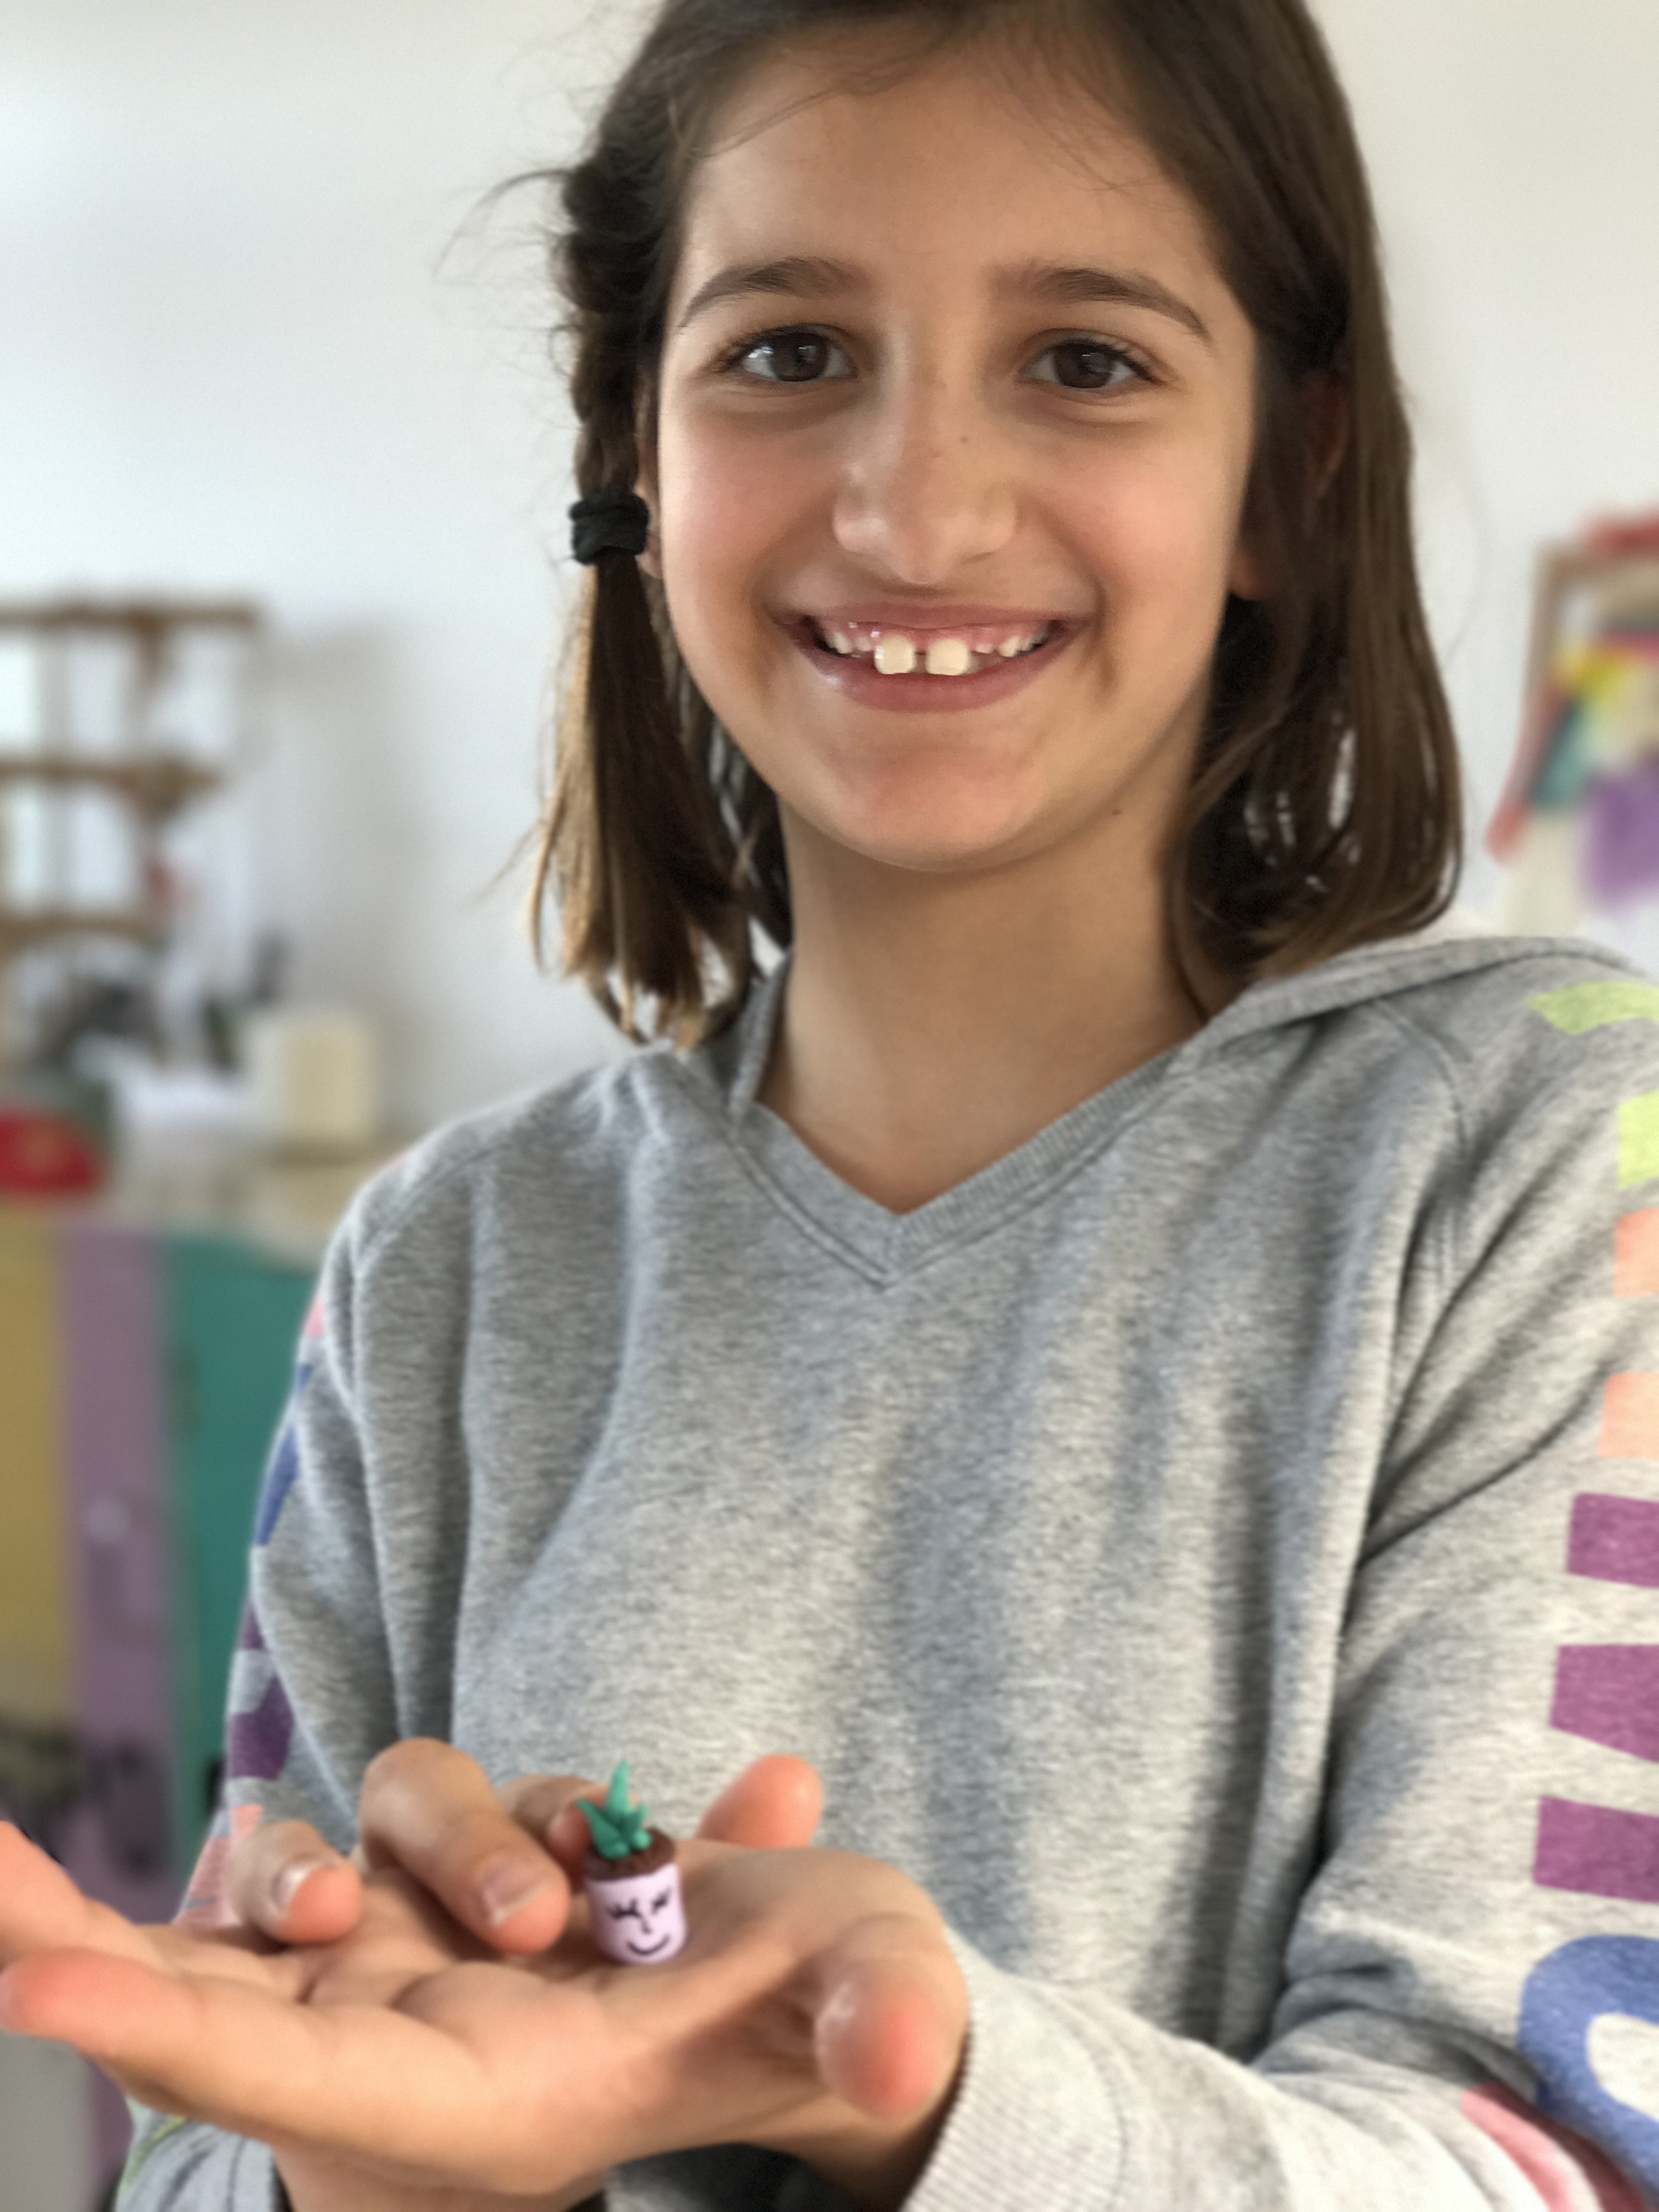
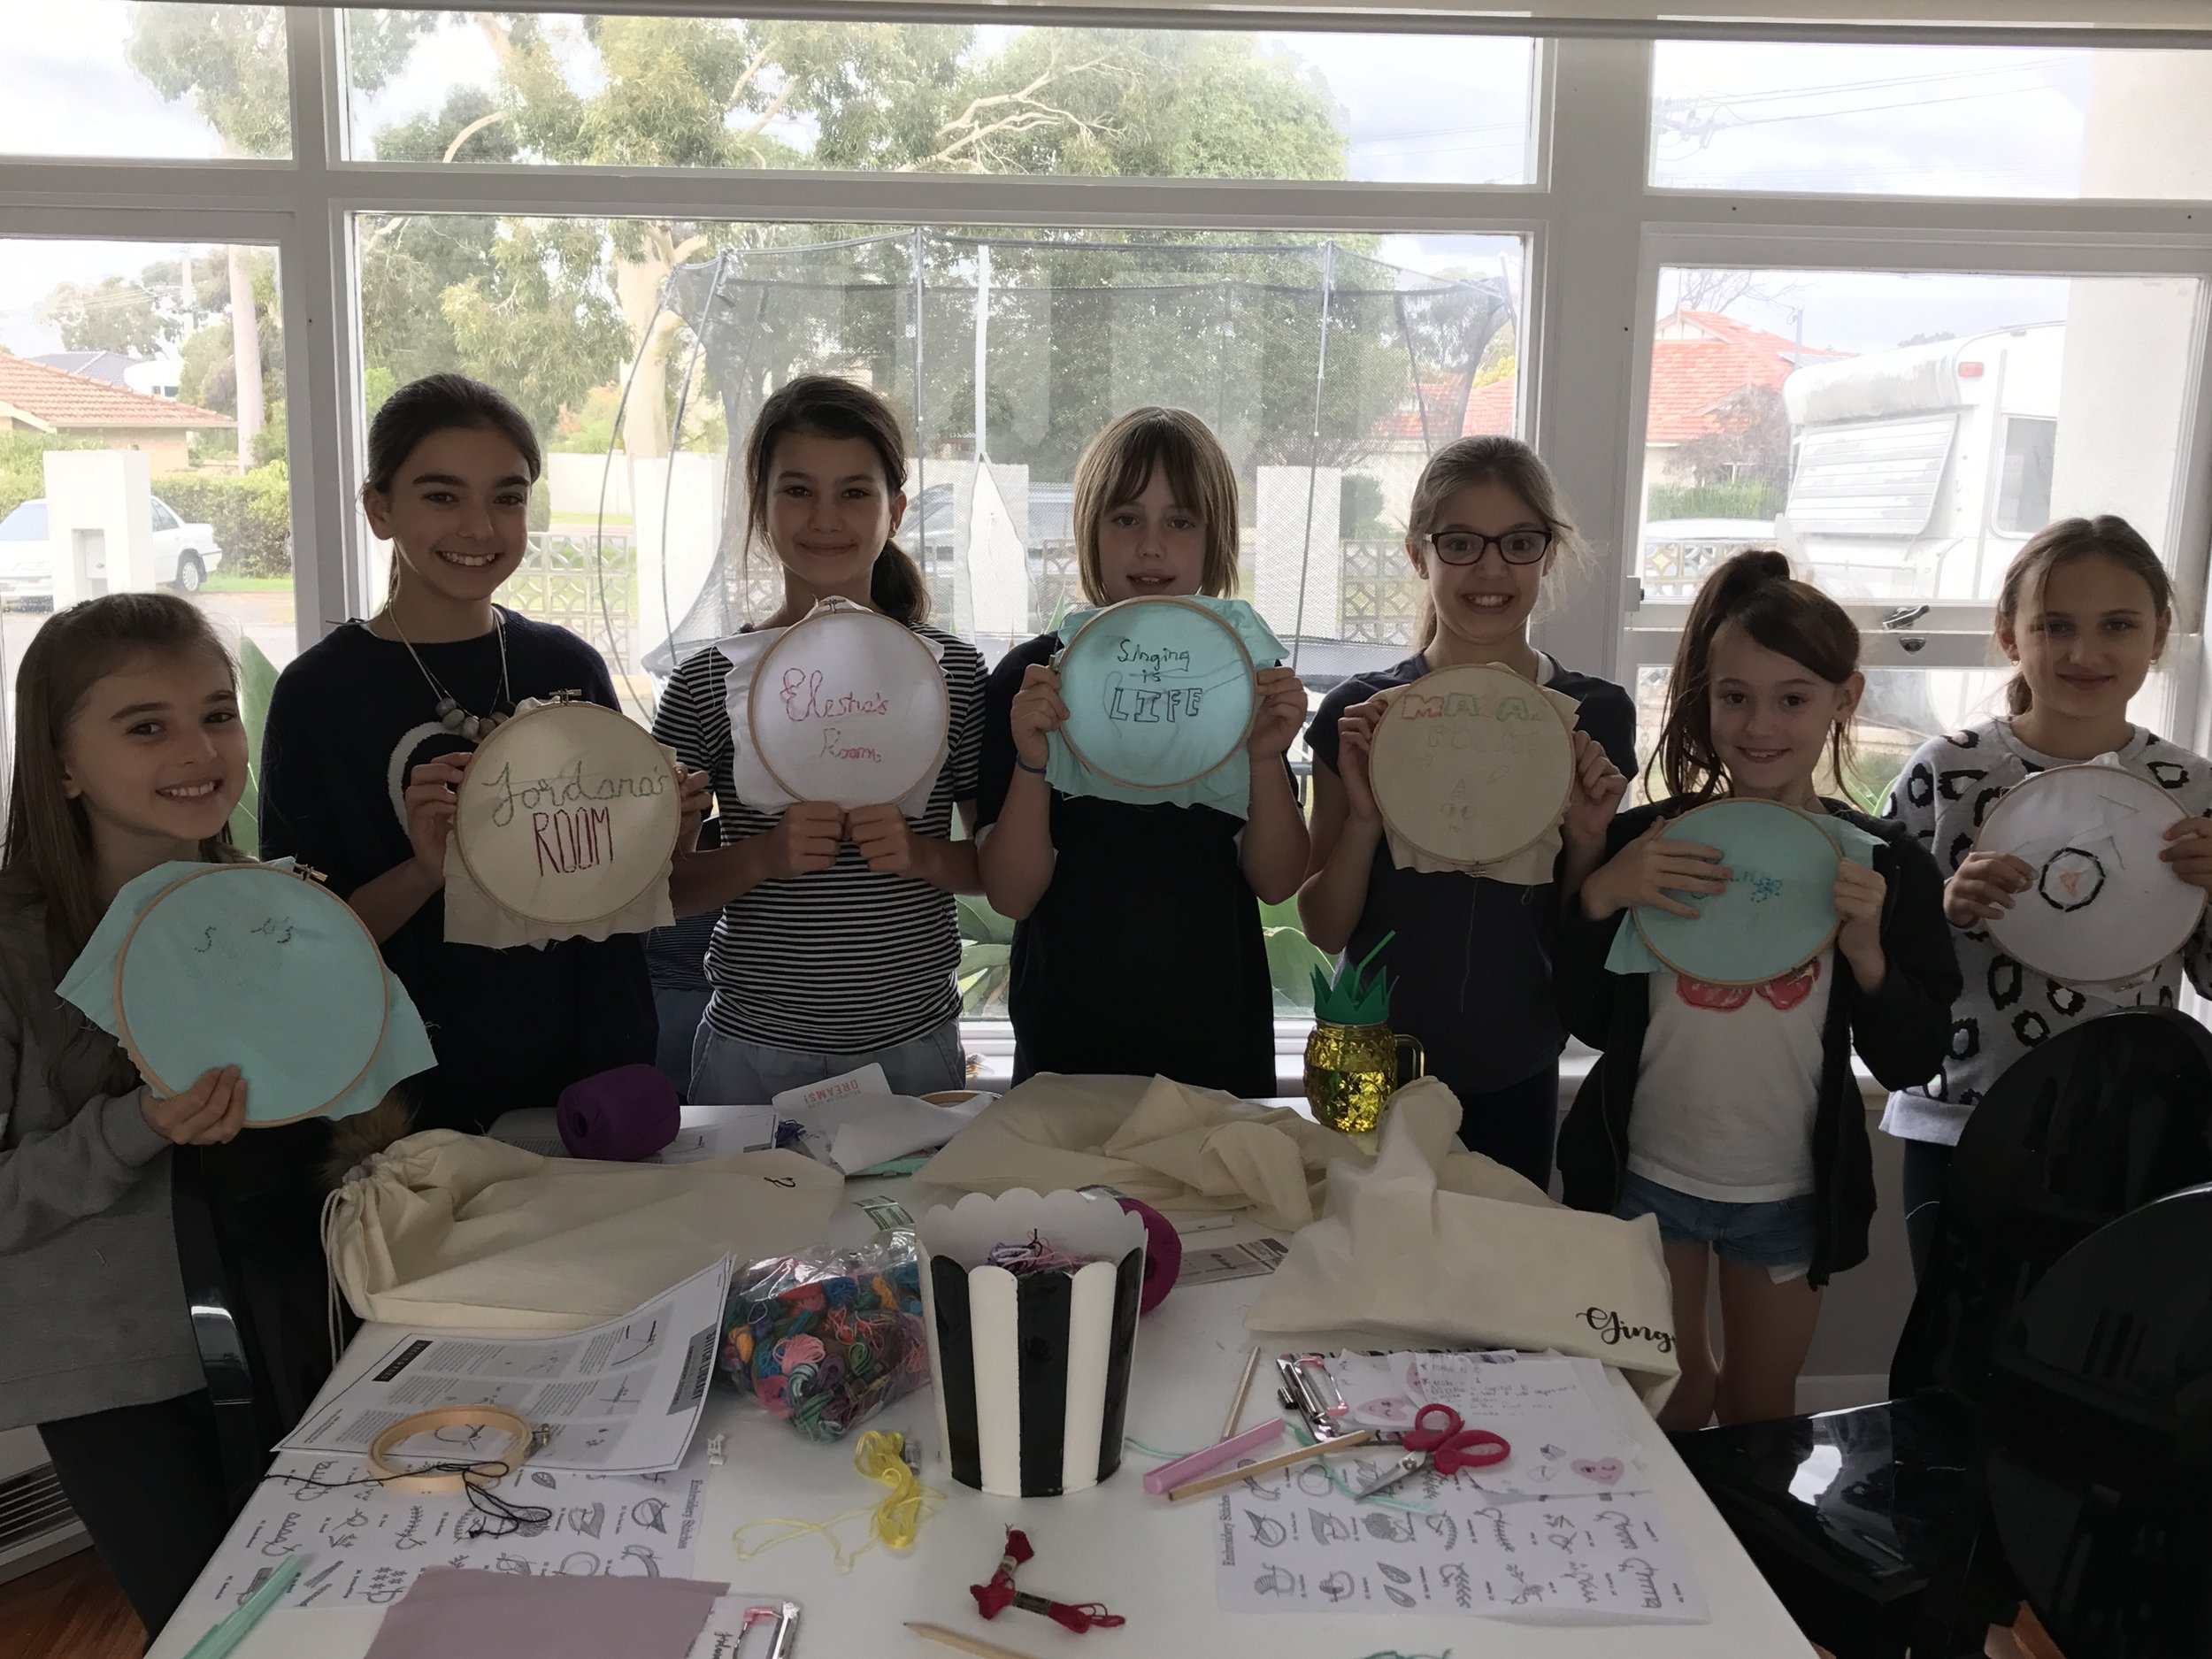
Straight to Build-A-Bear where Bella and Snuffles were quickly added to our (excessive) family of stuffed toys. It really was fun for the kids where they selected their bear, filled it with the softest of stuffing and even added beating hearts, a scent and something else that cost me a small (well-spent) fortune. We styled the bears in their best threads and created their birth certificates and BAM. I was MUM-OF-THE-YEAR!!!! Who new so much joy could be found in one store?

IMG_0751.JPG

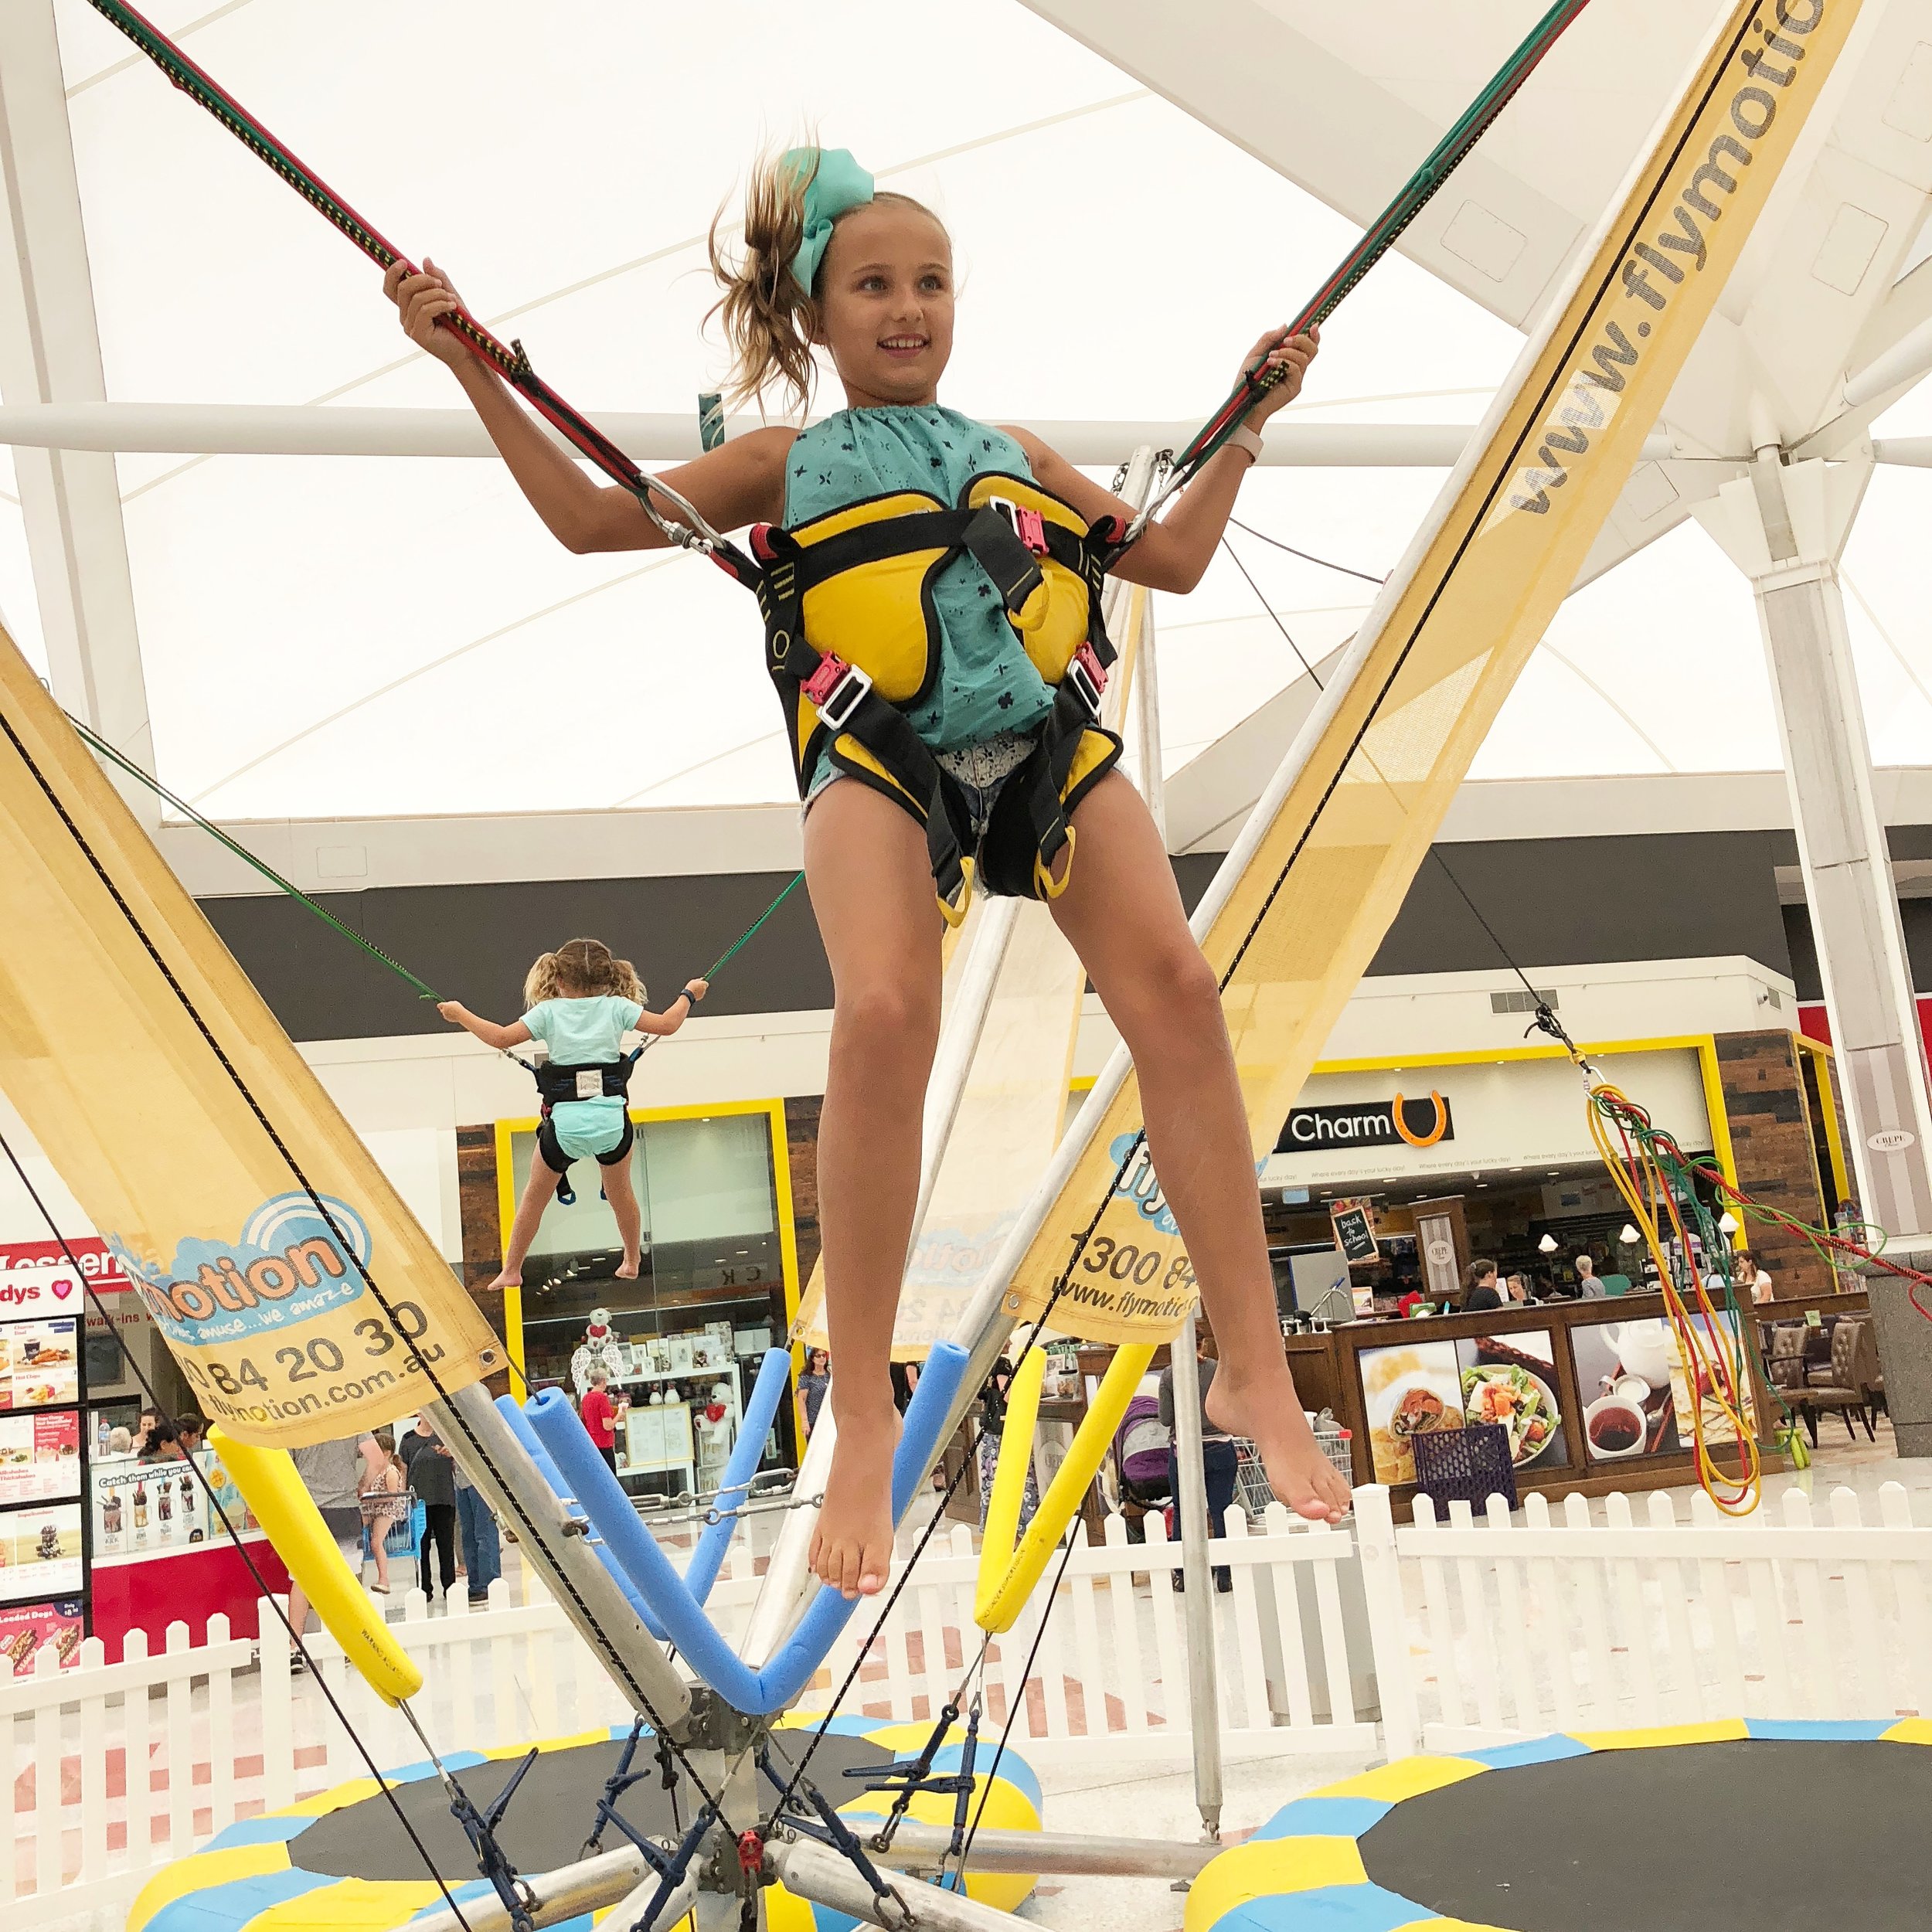
All smiles we ventured to Lakeside's Great Space - the big open area where all the fun stuff happens. We had a Nerf War (which I was not having any part of as I am one of those "no guns in my home" mums) but I got conned and whined at so I gave in. Then, in the blink of an eye the kids were harnessed and tumbling with FlyMotion where both the girls did back flips high in the air with the help of some pretty awesome trampolines and even better staff (who aren't scared to have a pic or two).

IMG_0754.JPG
IMG_0752.JPG
IMG_0753.JPG

There was toy department after toy department. With the release of a whole new Lego Friends series, the girls were determined to grab a bargain. This involved going to Big W, Myer, Kmart and Target to get the best deal. Despite there being just $1 difference, we had to go all the way back to our first stop Big W to get the best deal. Berkley obsessed over baby dolls that we don't need and Addi swooned at just about every new Shoppy (Shopkins) Doll ever created and every Beanie Boo we passed. 

IMG_0741.JPG

We stopped for a bite to eat (lots of nutritious fries) outside and despite it being a belting hot day, we found a nice shady table at Grill'd where they were able to accommodate Addi's ridiculous burger request of bread, bacon and cheese and Berkley picked off every minuscule fleck of rosemary from the fries. 

IMG_0755.JPG
IMG_0743.JPG

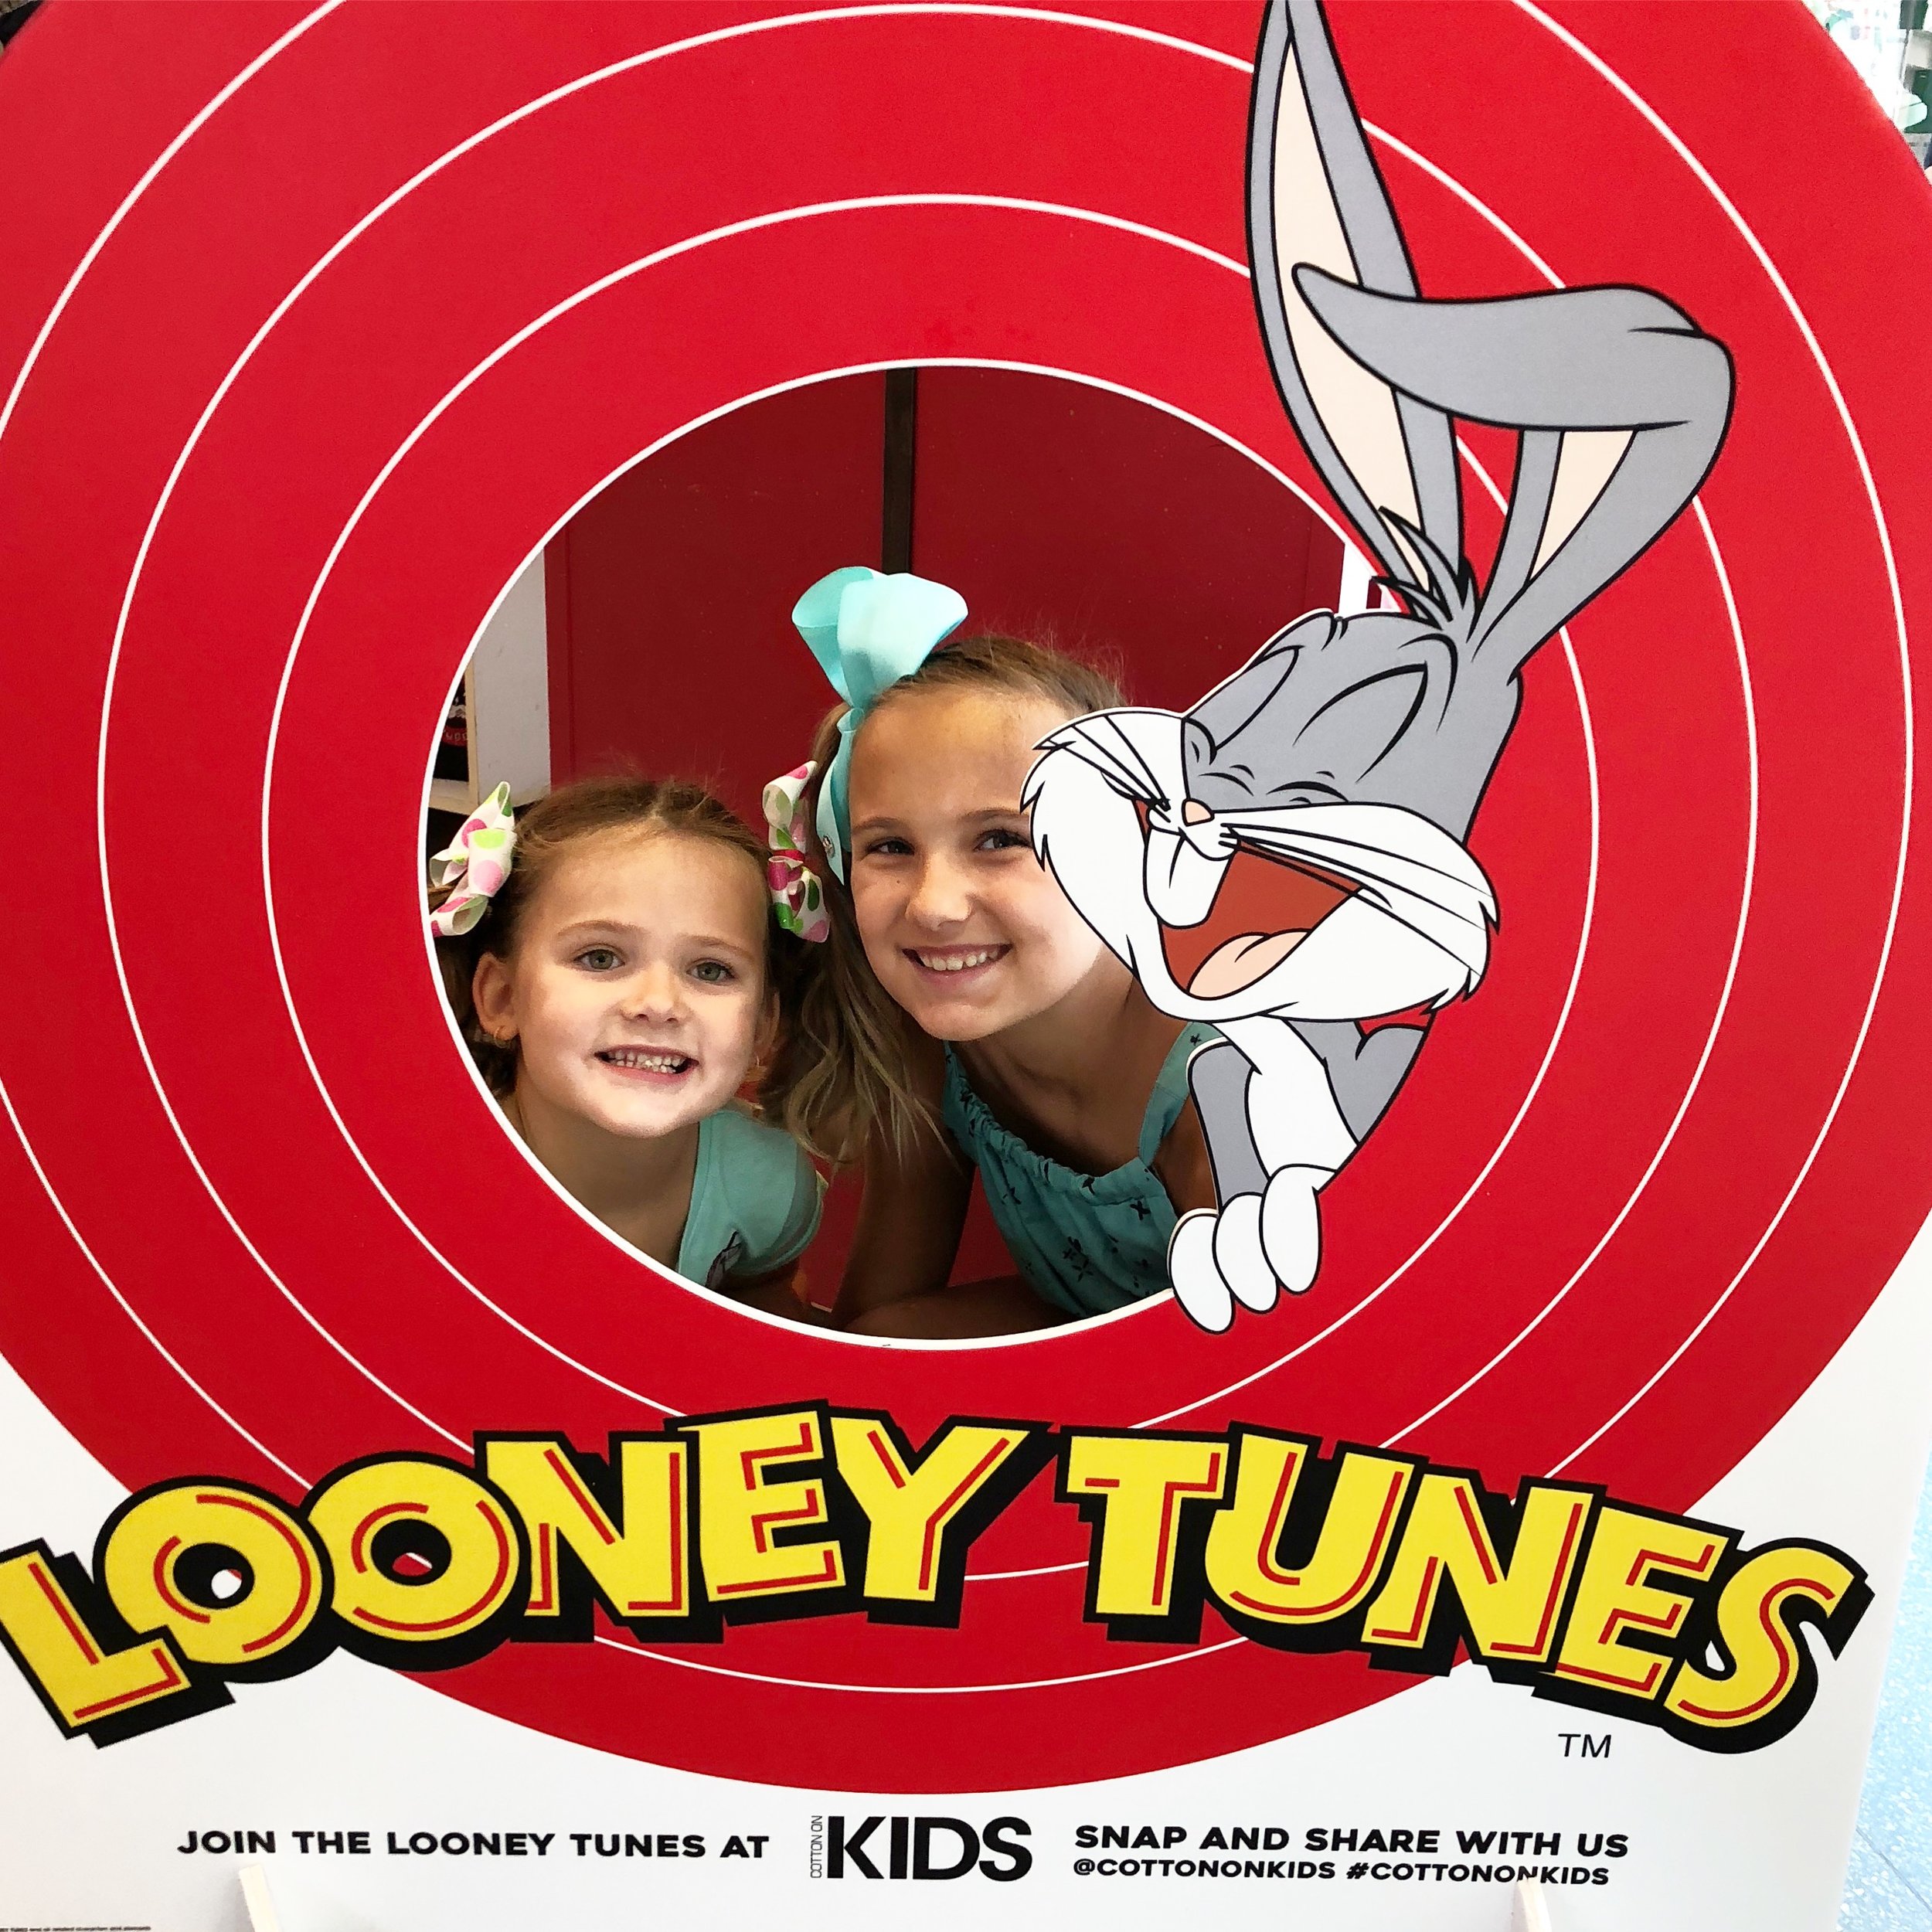
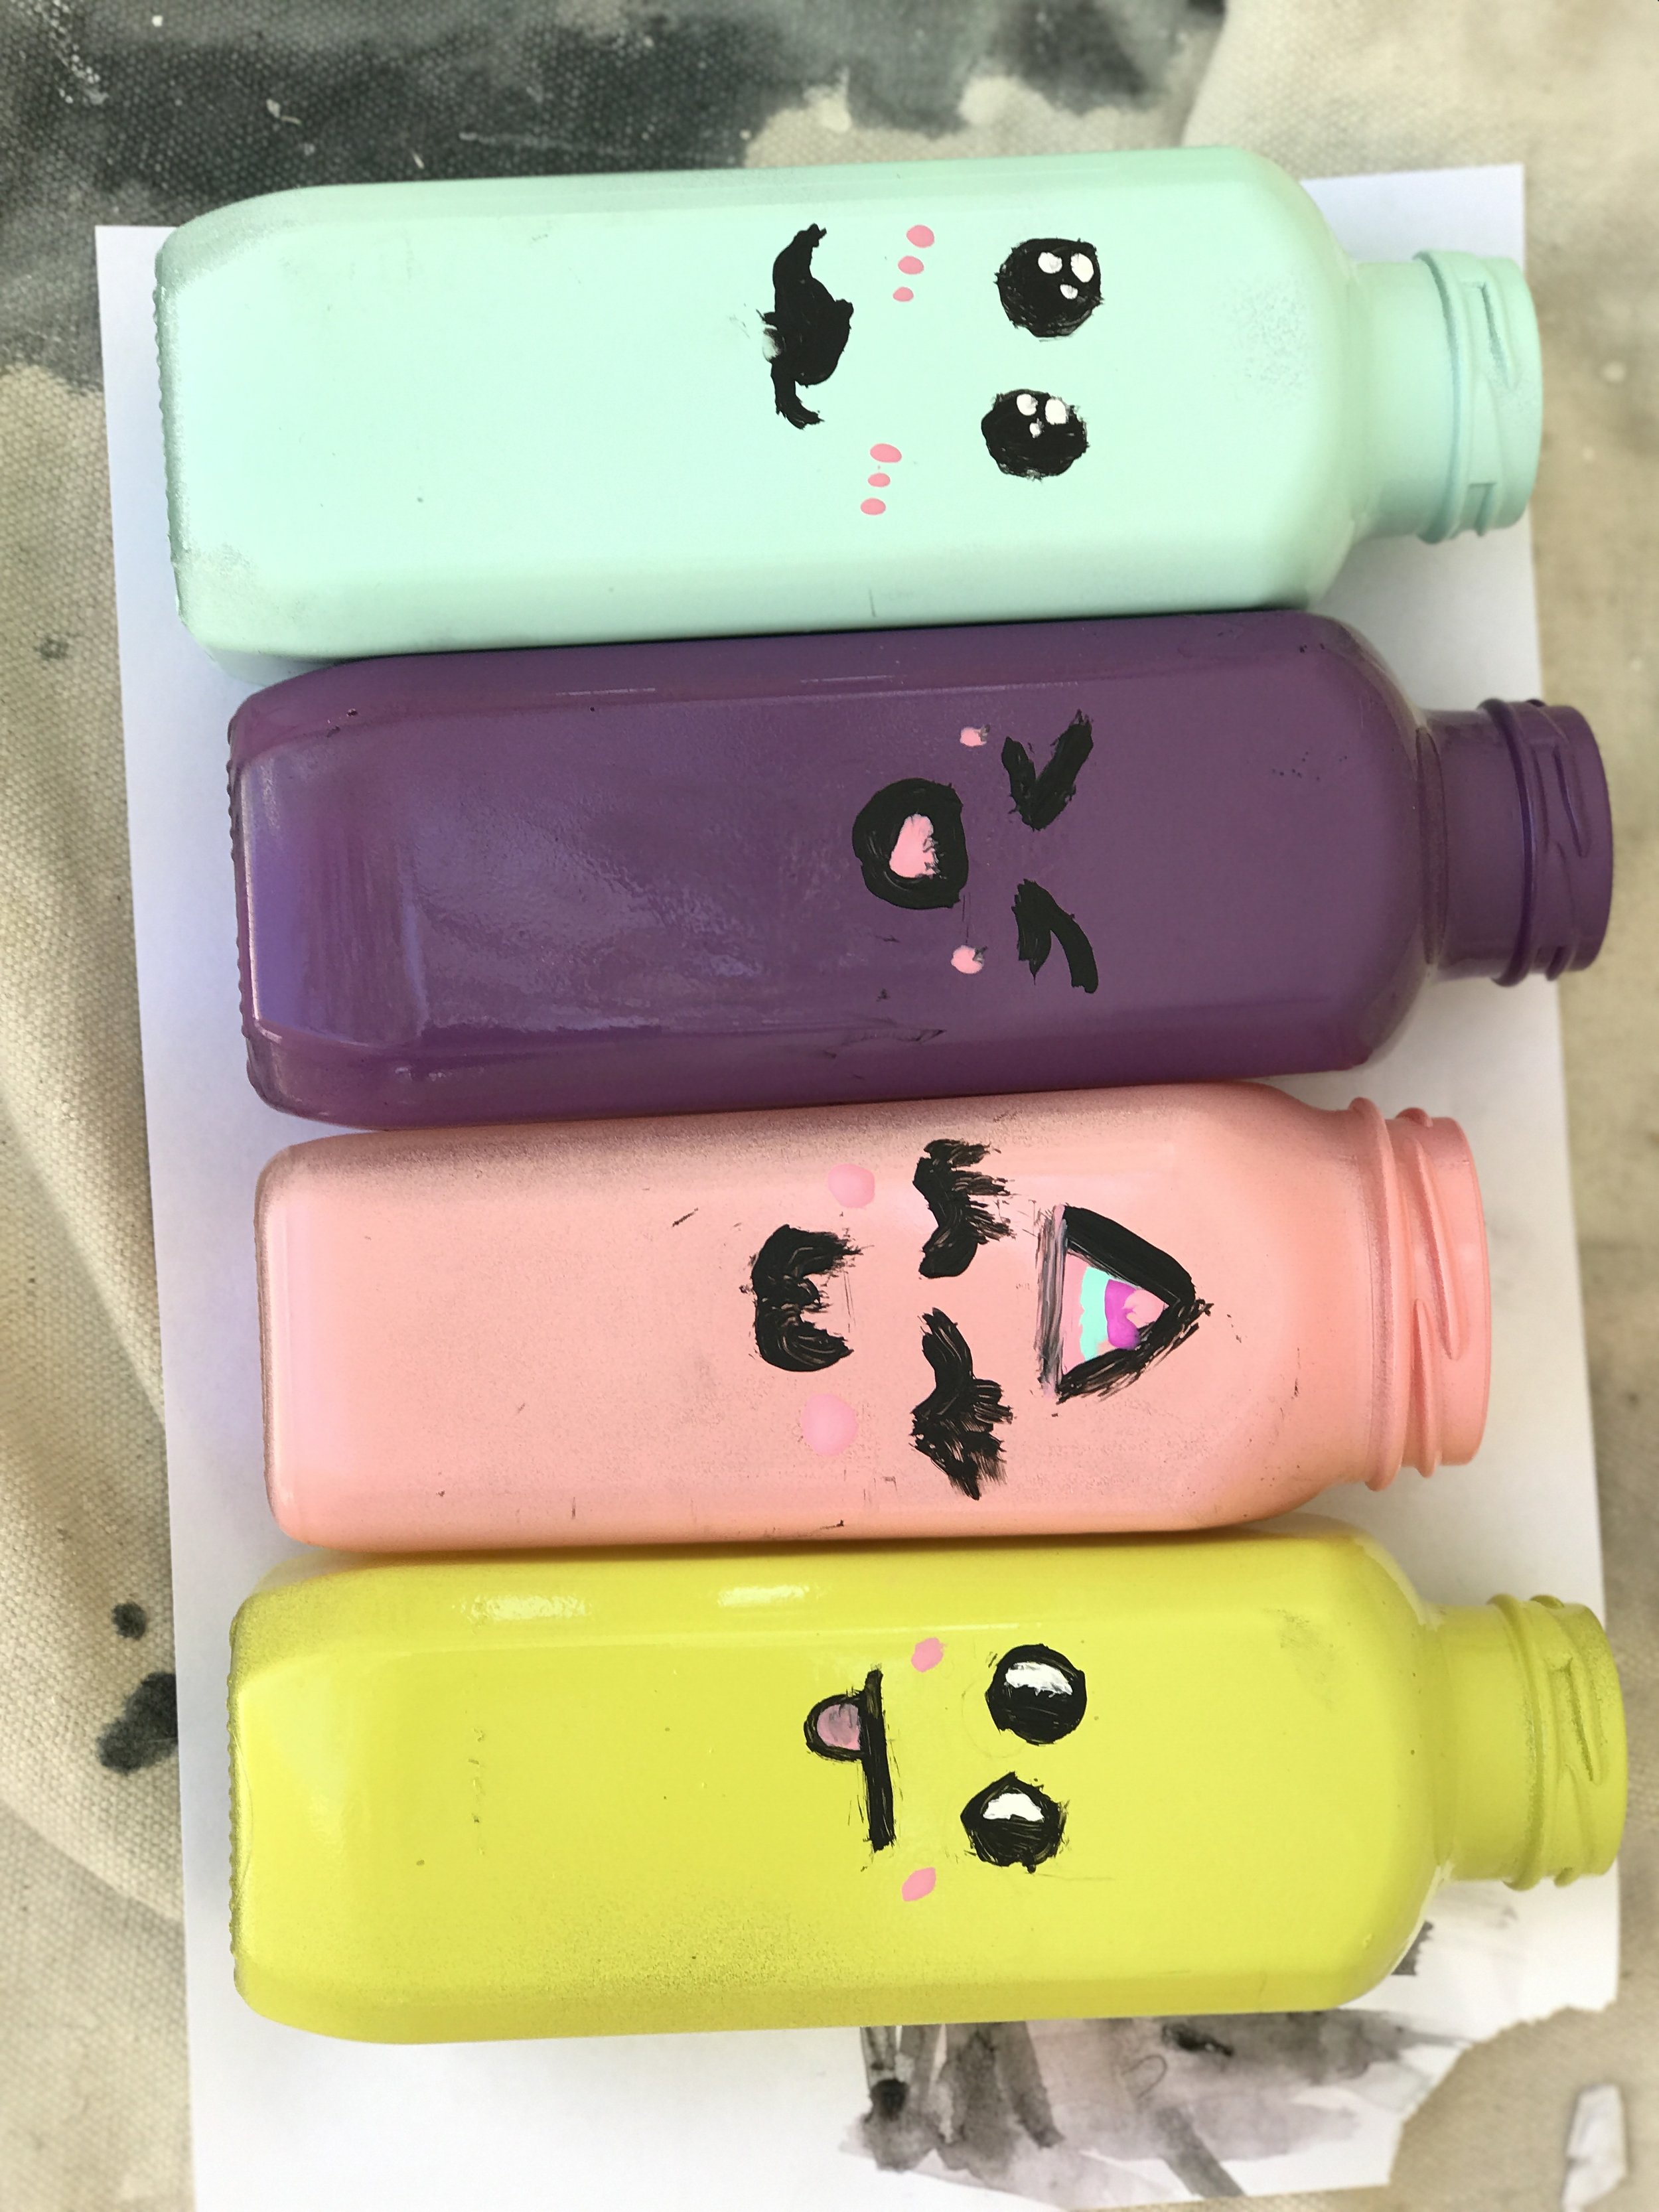
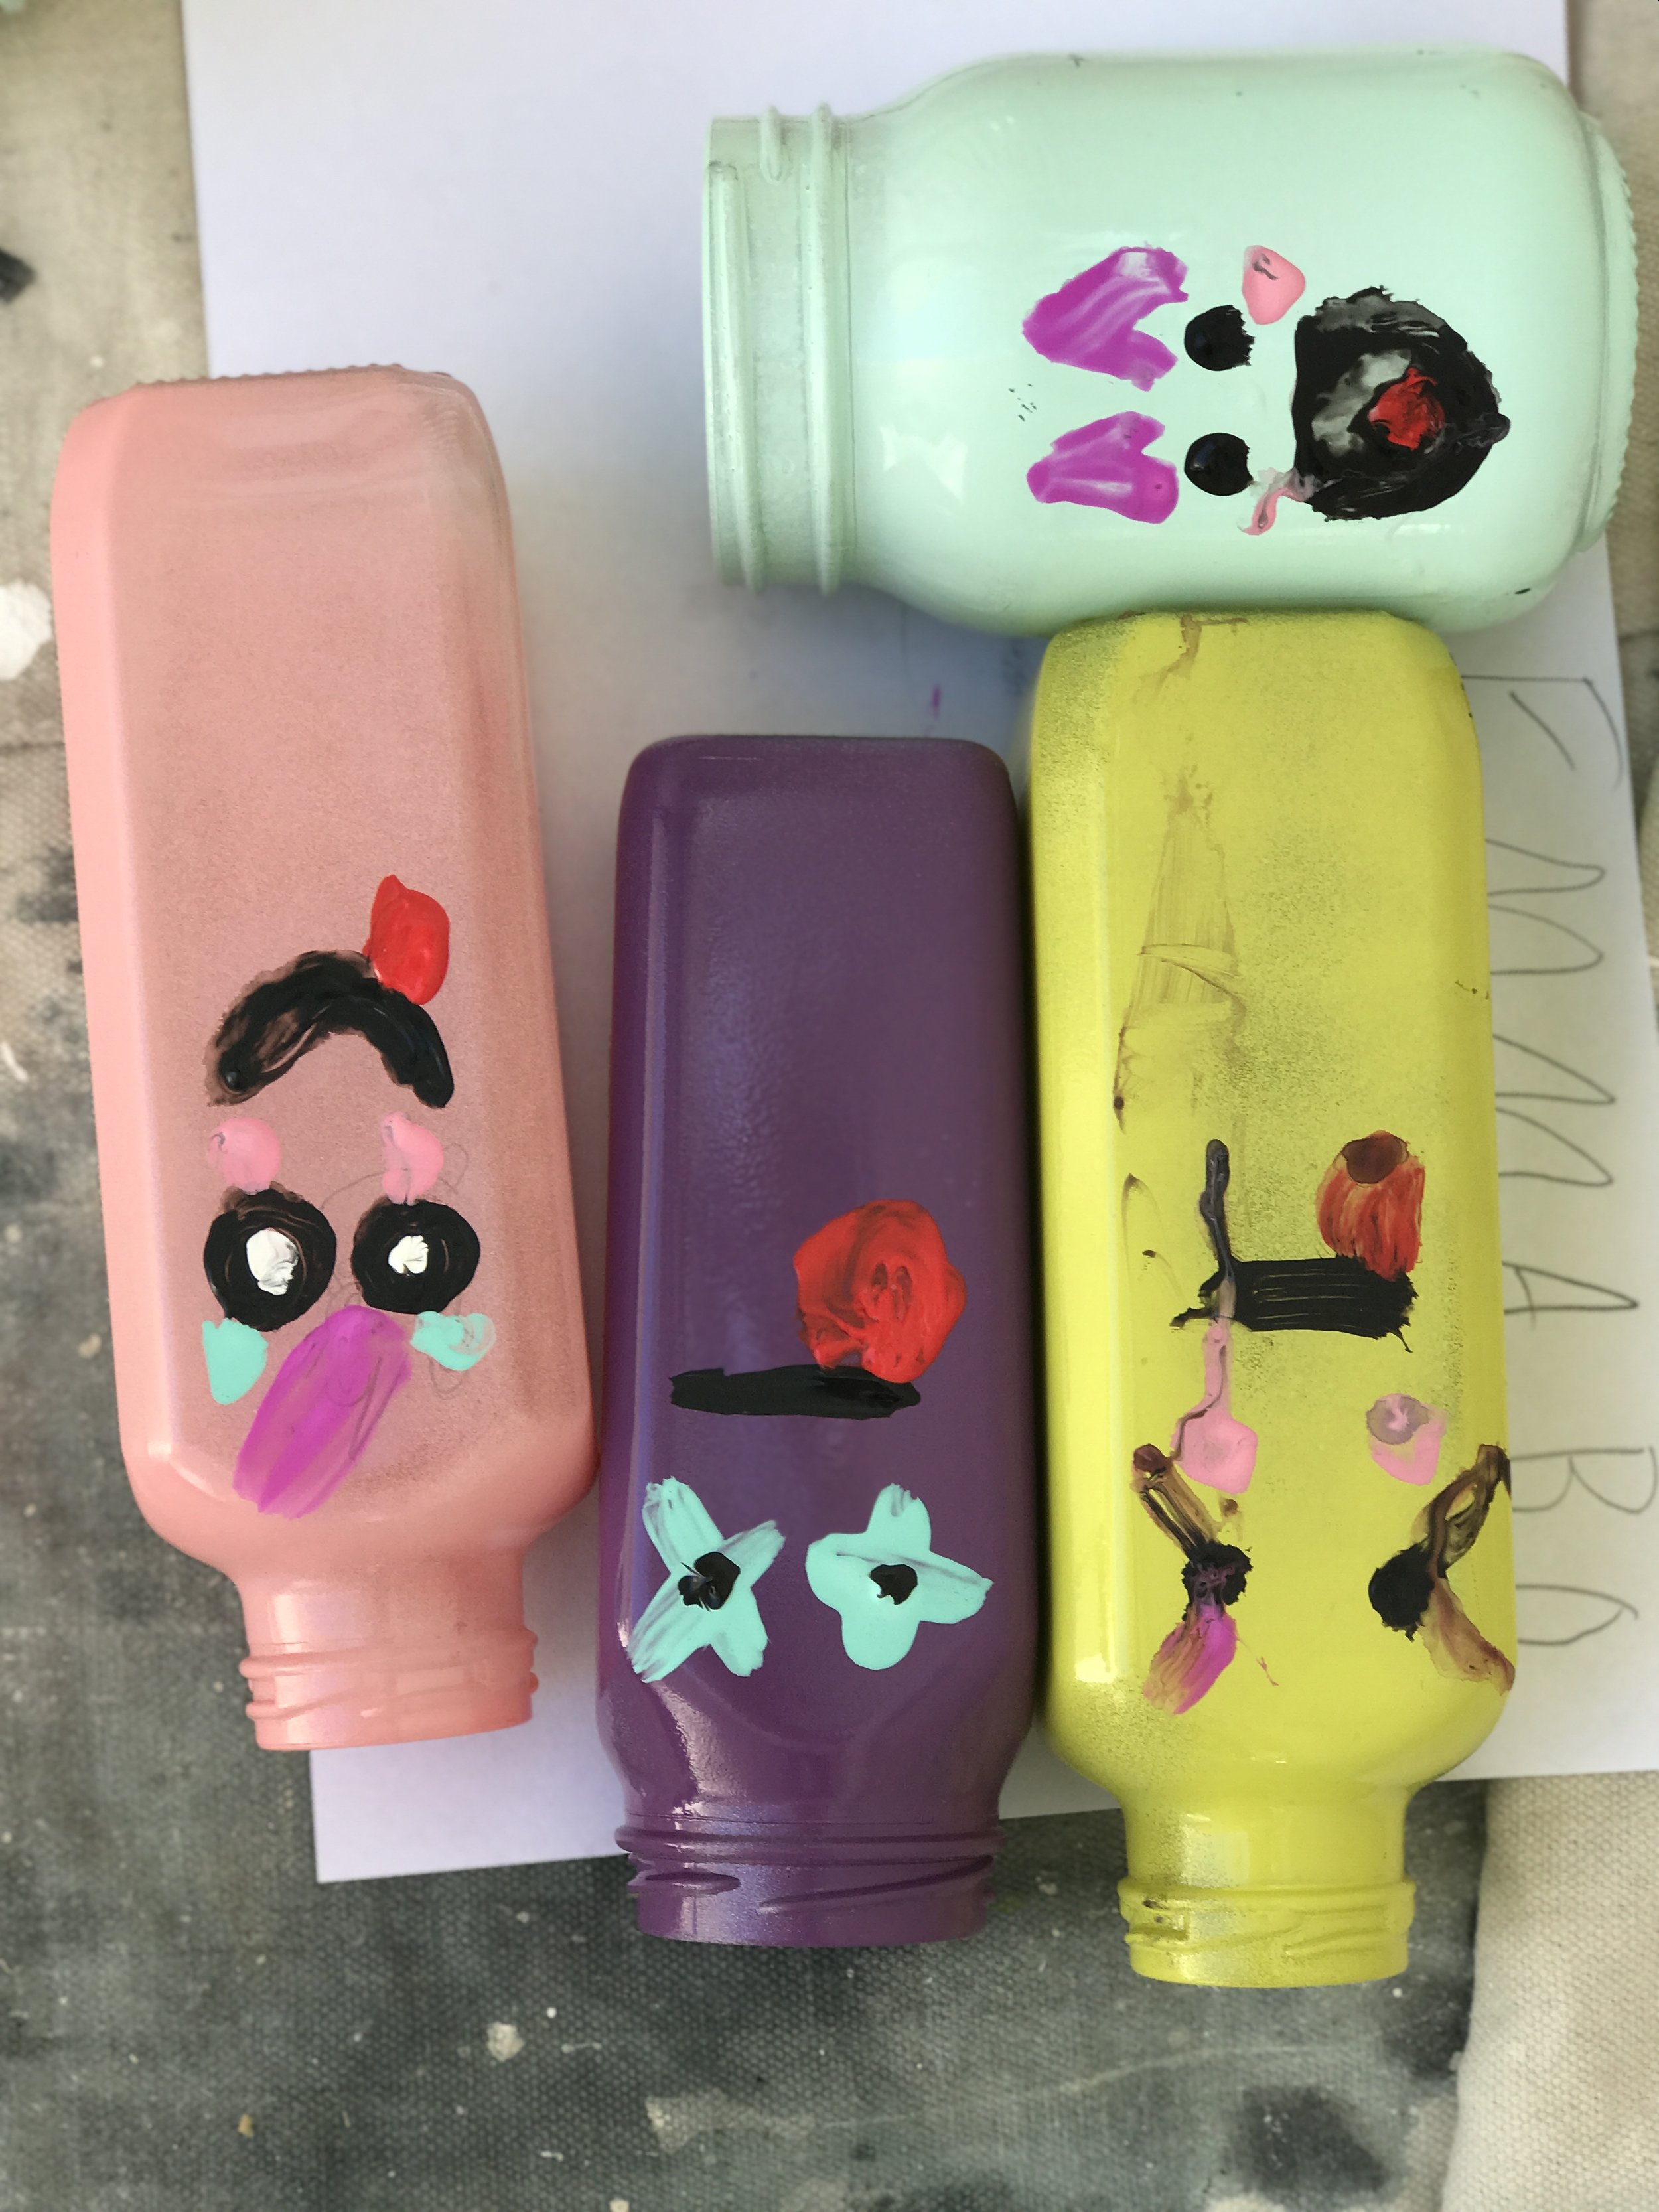
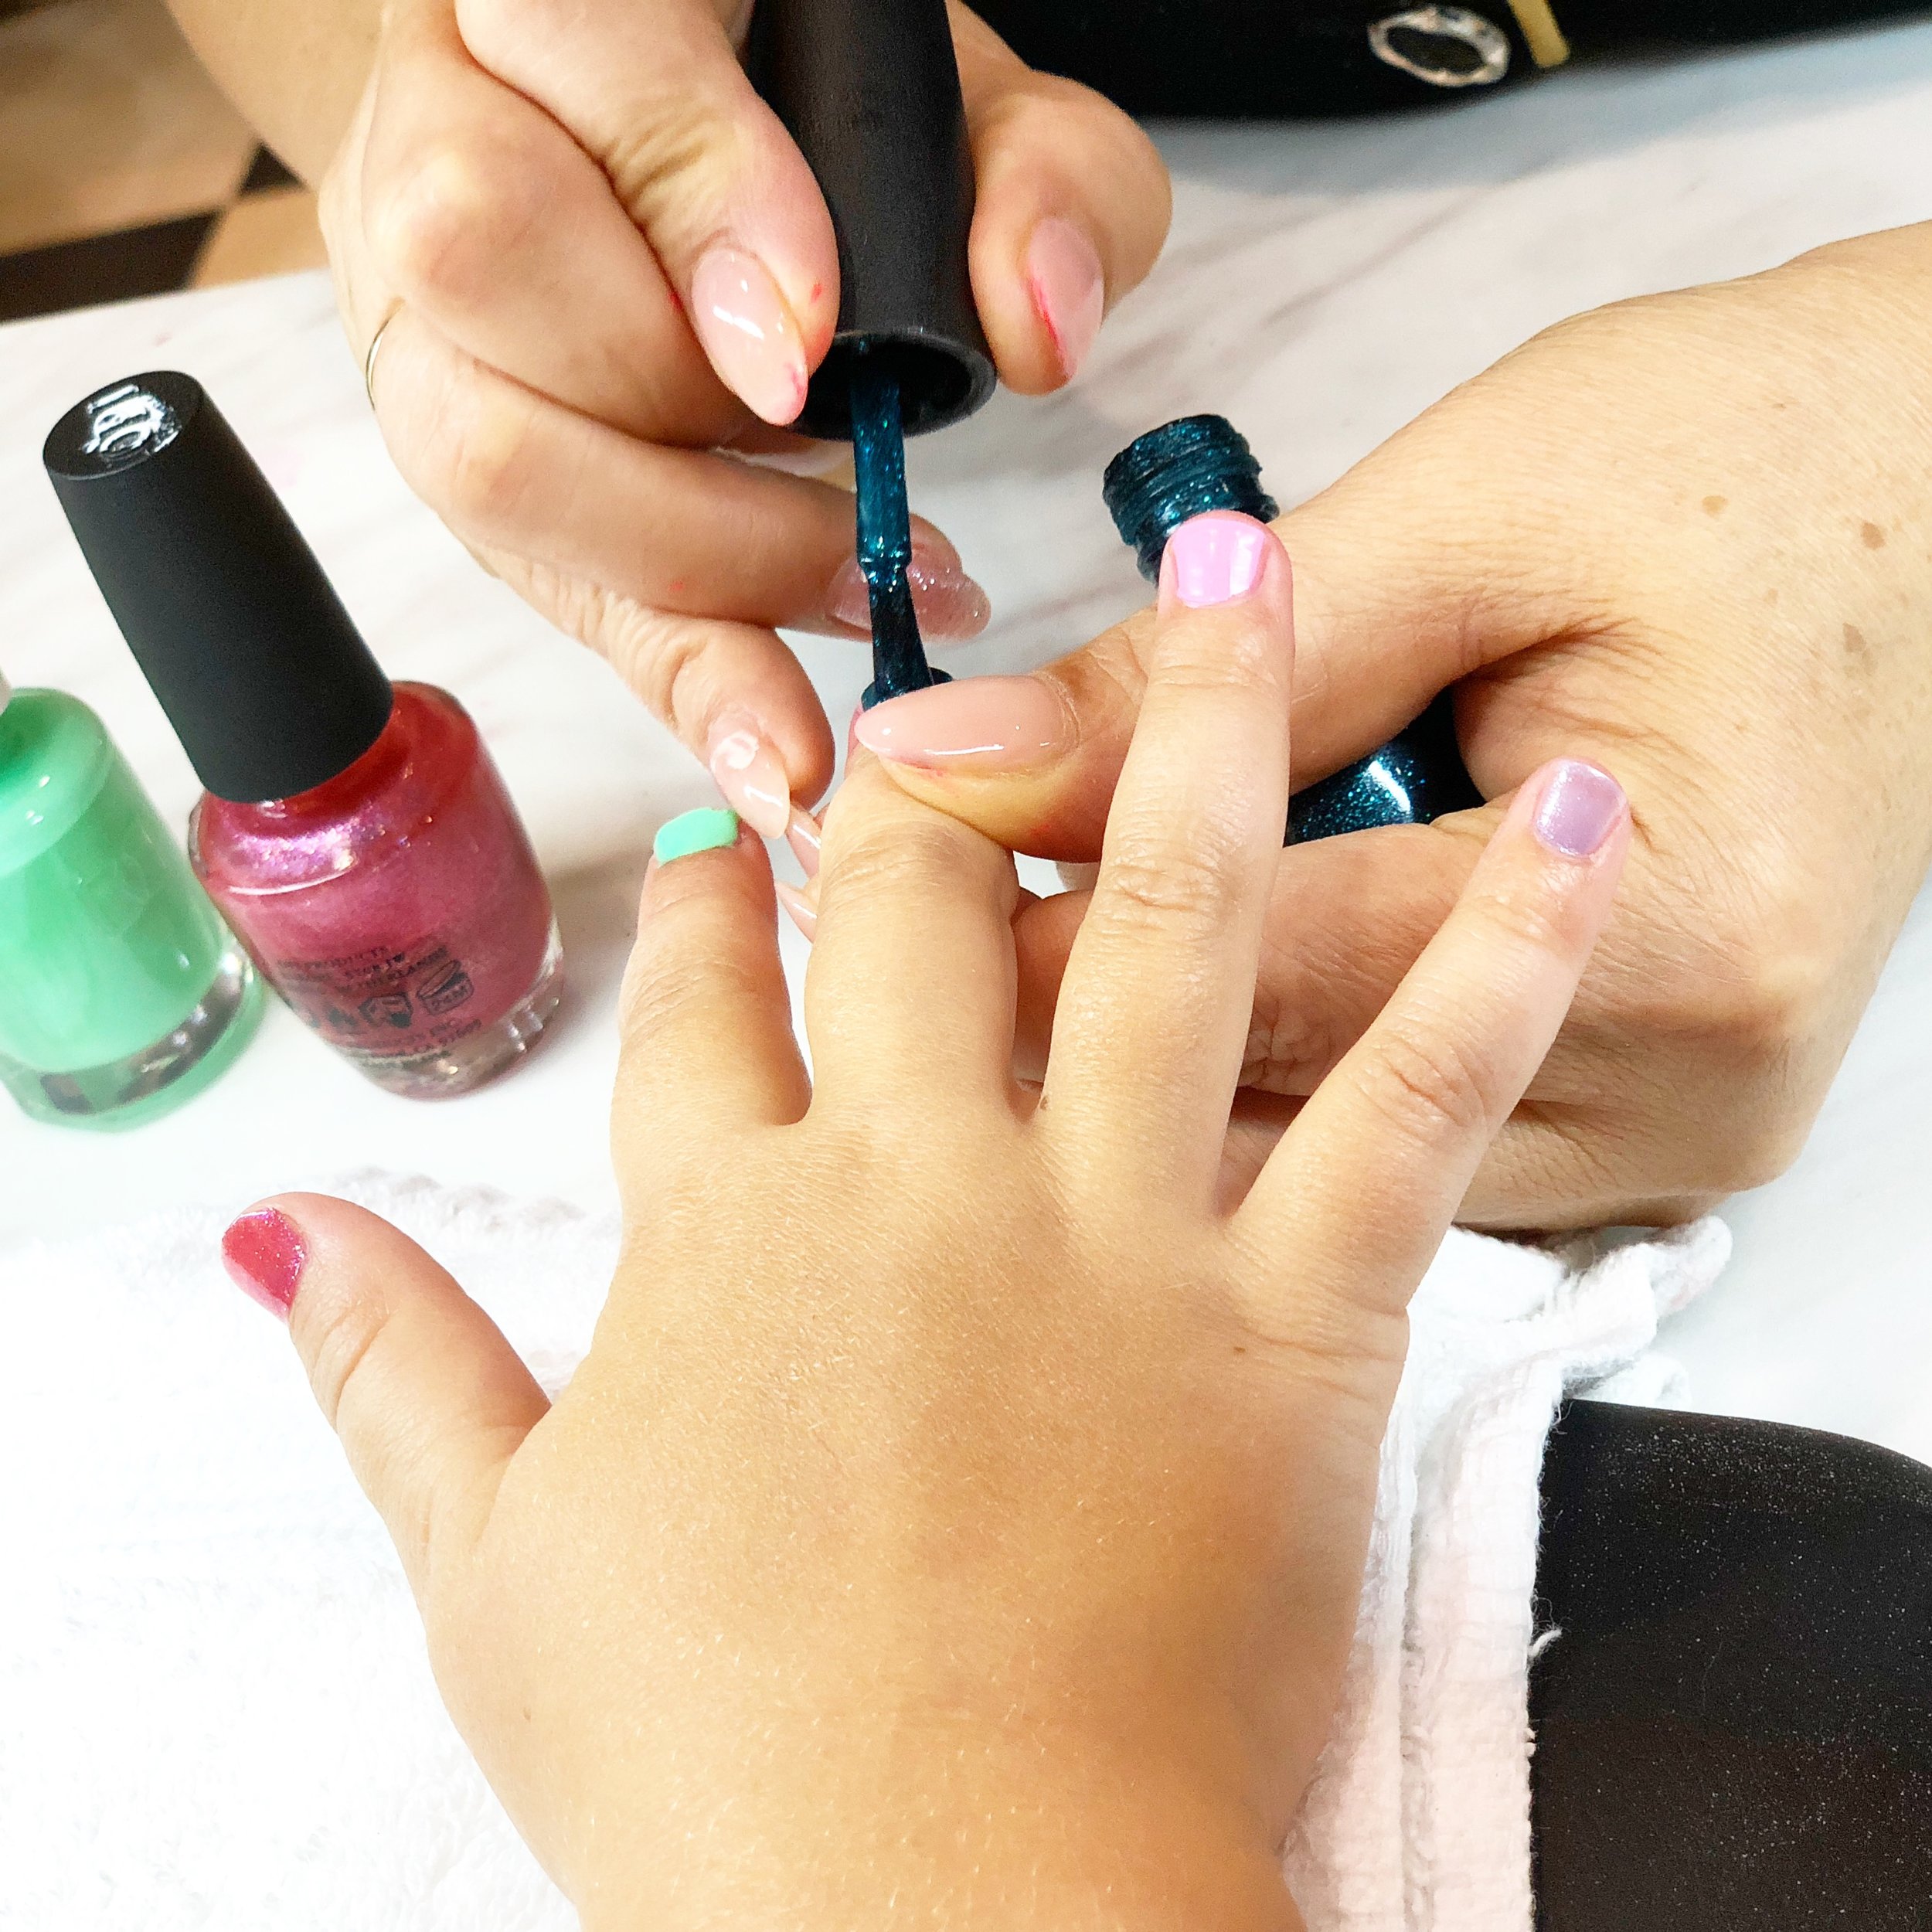
There was more shopping, including Build-A-Bear clothing from Best and Less for $4 an item (size 0-3 months fit them perfectly for anyone wanting to accessorise theirs - go on, I know you want to), hair glitter from pavement, Looney Tune clothing from Cotton on Kids and yet another bath bomb from Lush and some must-do nail painting for the weary shoppers.

IMG_0759.JPG

Smiggle of course came up with the back-to-school goods with the most diverse range of fabrics, but Kmart had really good affordable options too for those not holding shares in Smiggle. Typo had THE BEST drink bottles and lots of pretty distractions for frazzled mummy too.

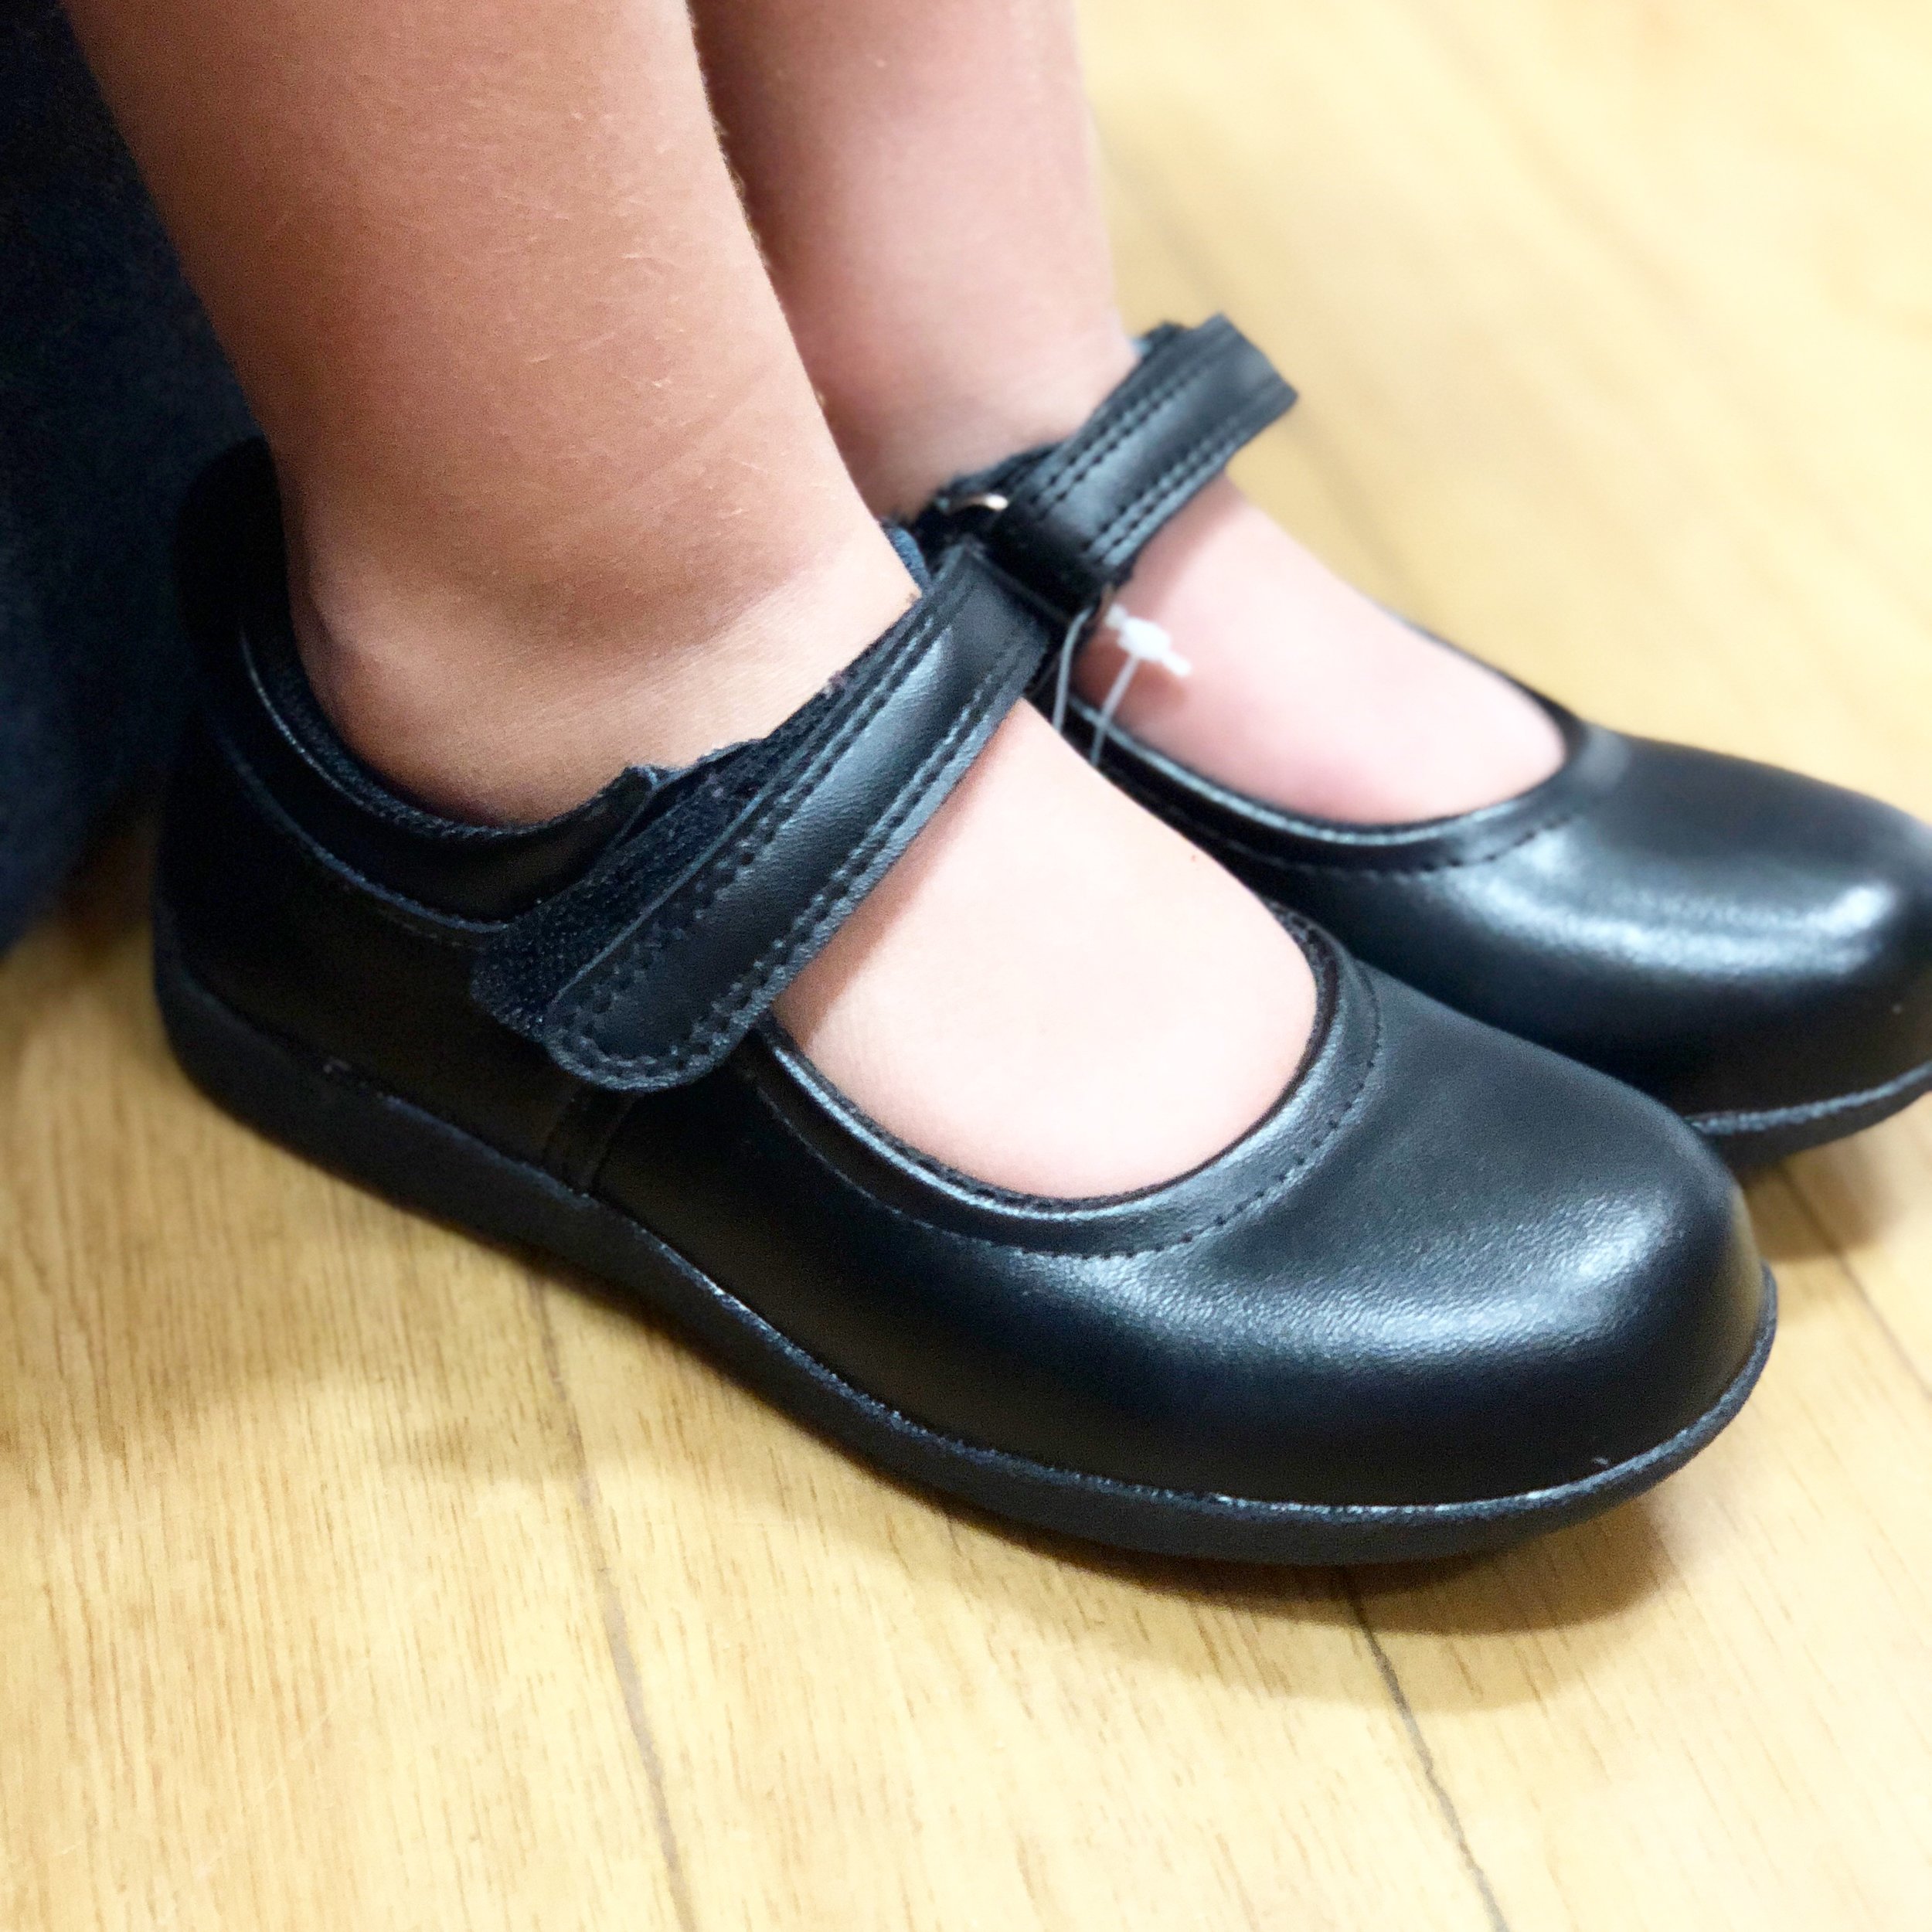
There was uniform shopping at Target and Big W and then, in a split second, I realised my baby is now a big girl when she tried on her first pair of school shoes. Not knowing what to expect and how much destruction the shoes would face, I went for an all leather pair from Target as I really think their quality was amazing and for $35 I couldn't go past them.

IMG_0758.JPG
IMG_0756.JPG
IMG_0757.JPG

Lunchboxes - Check

Drink bottles - Check

Backpacks - Check

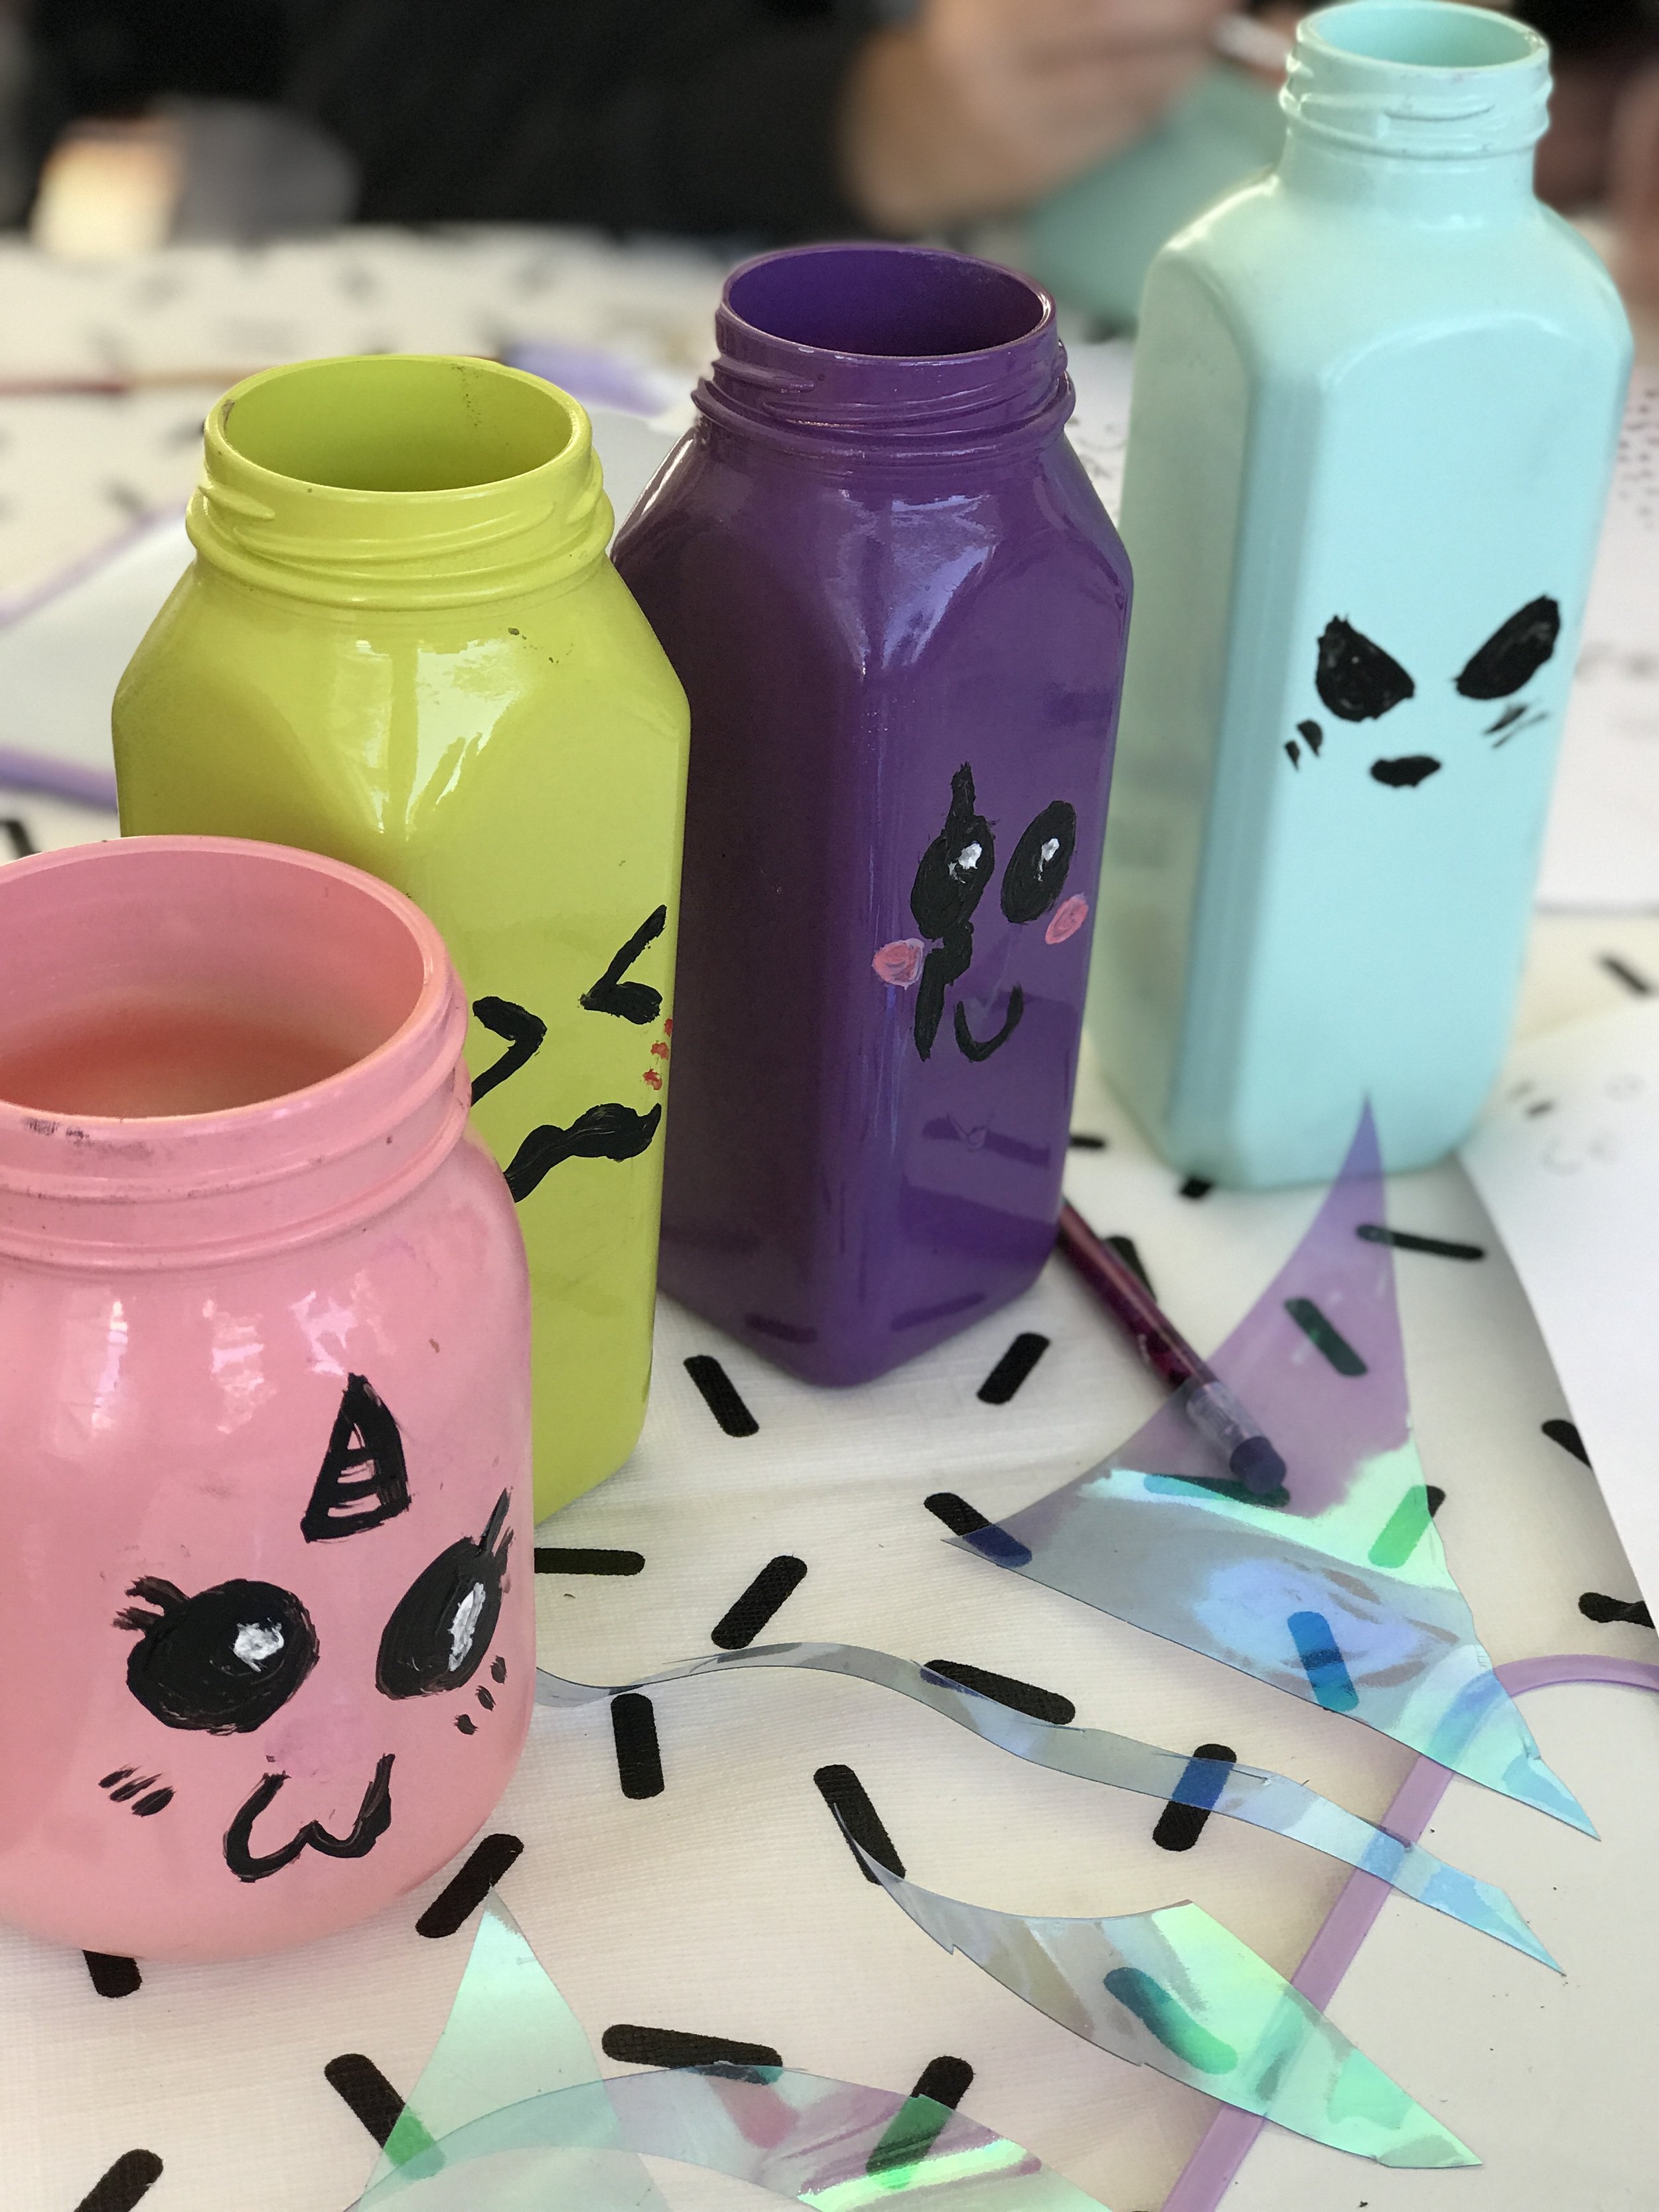
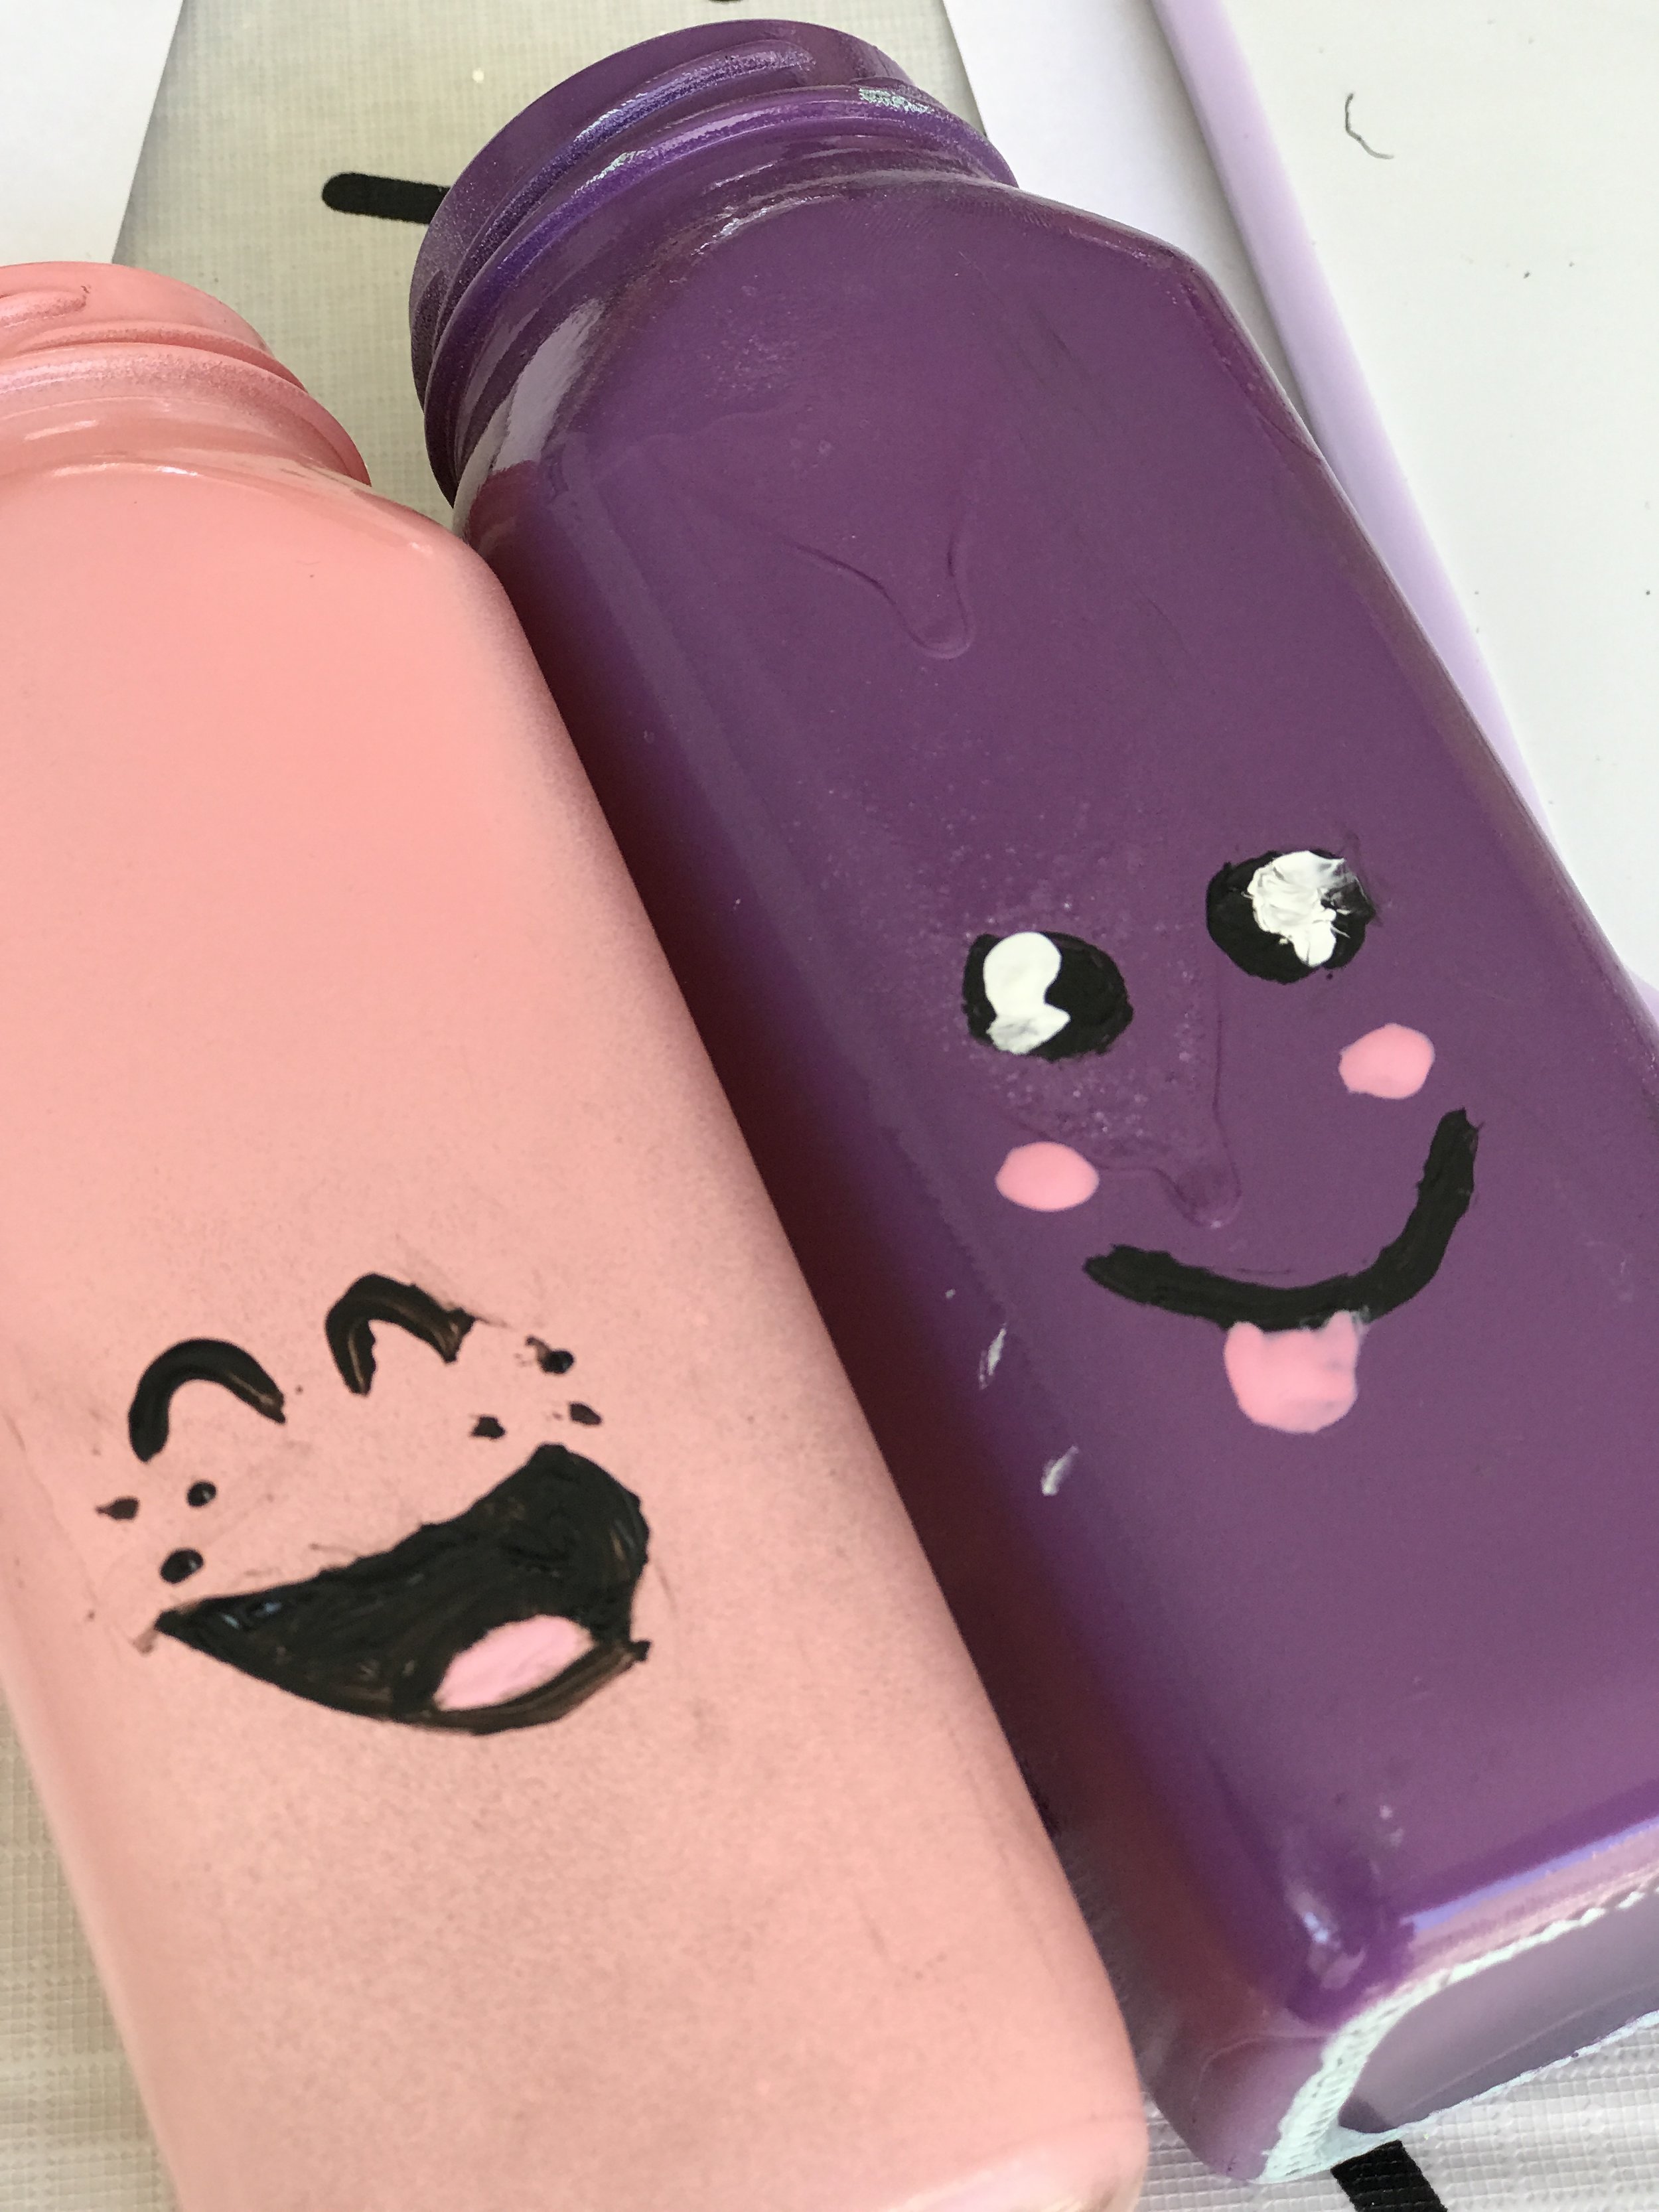
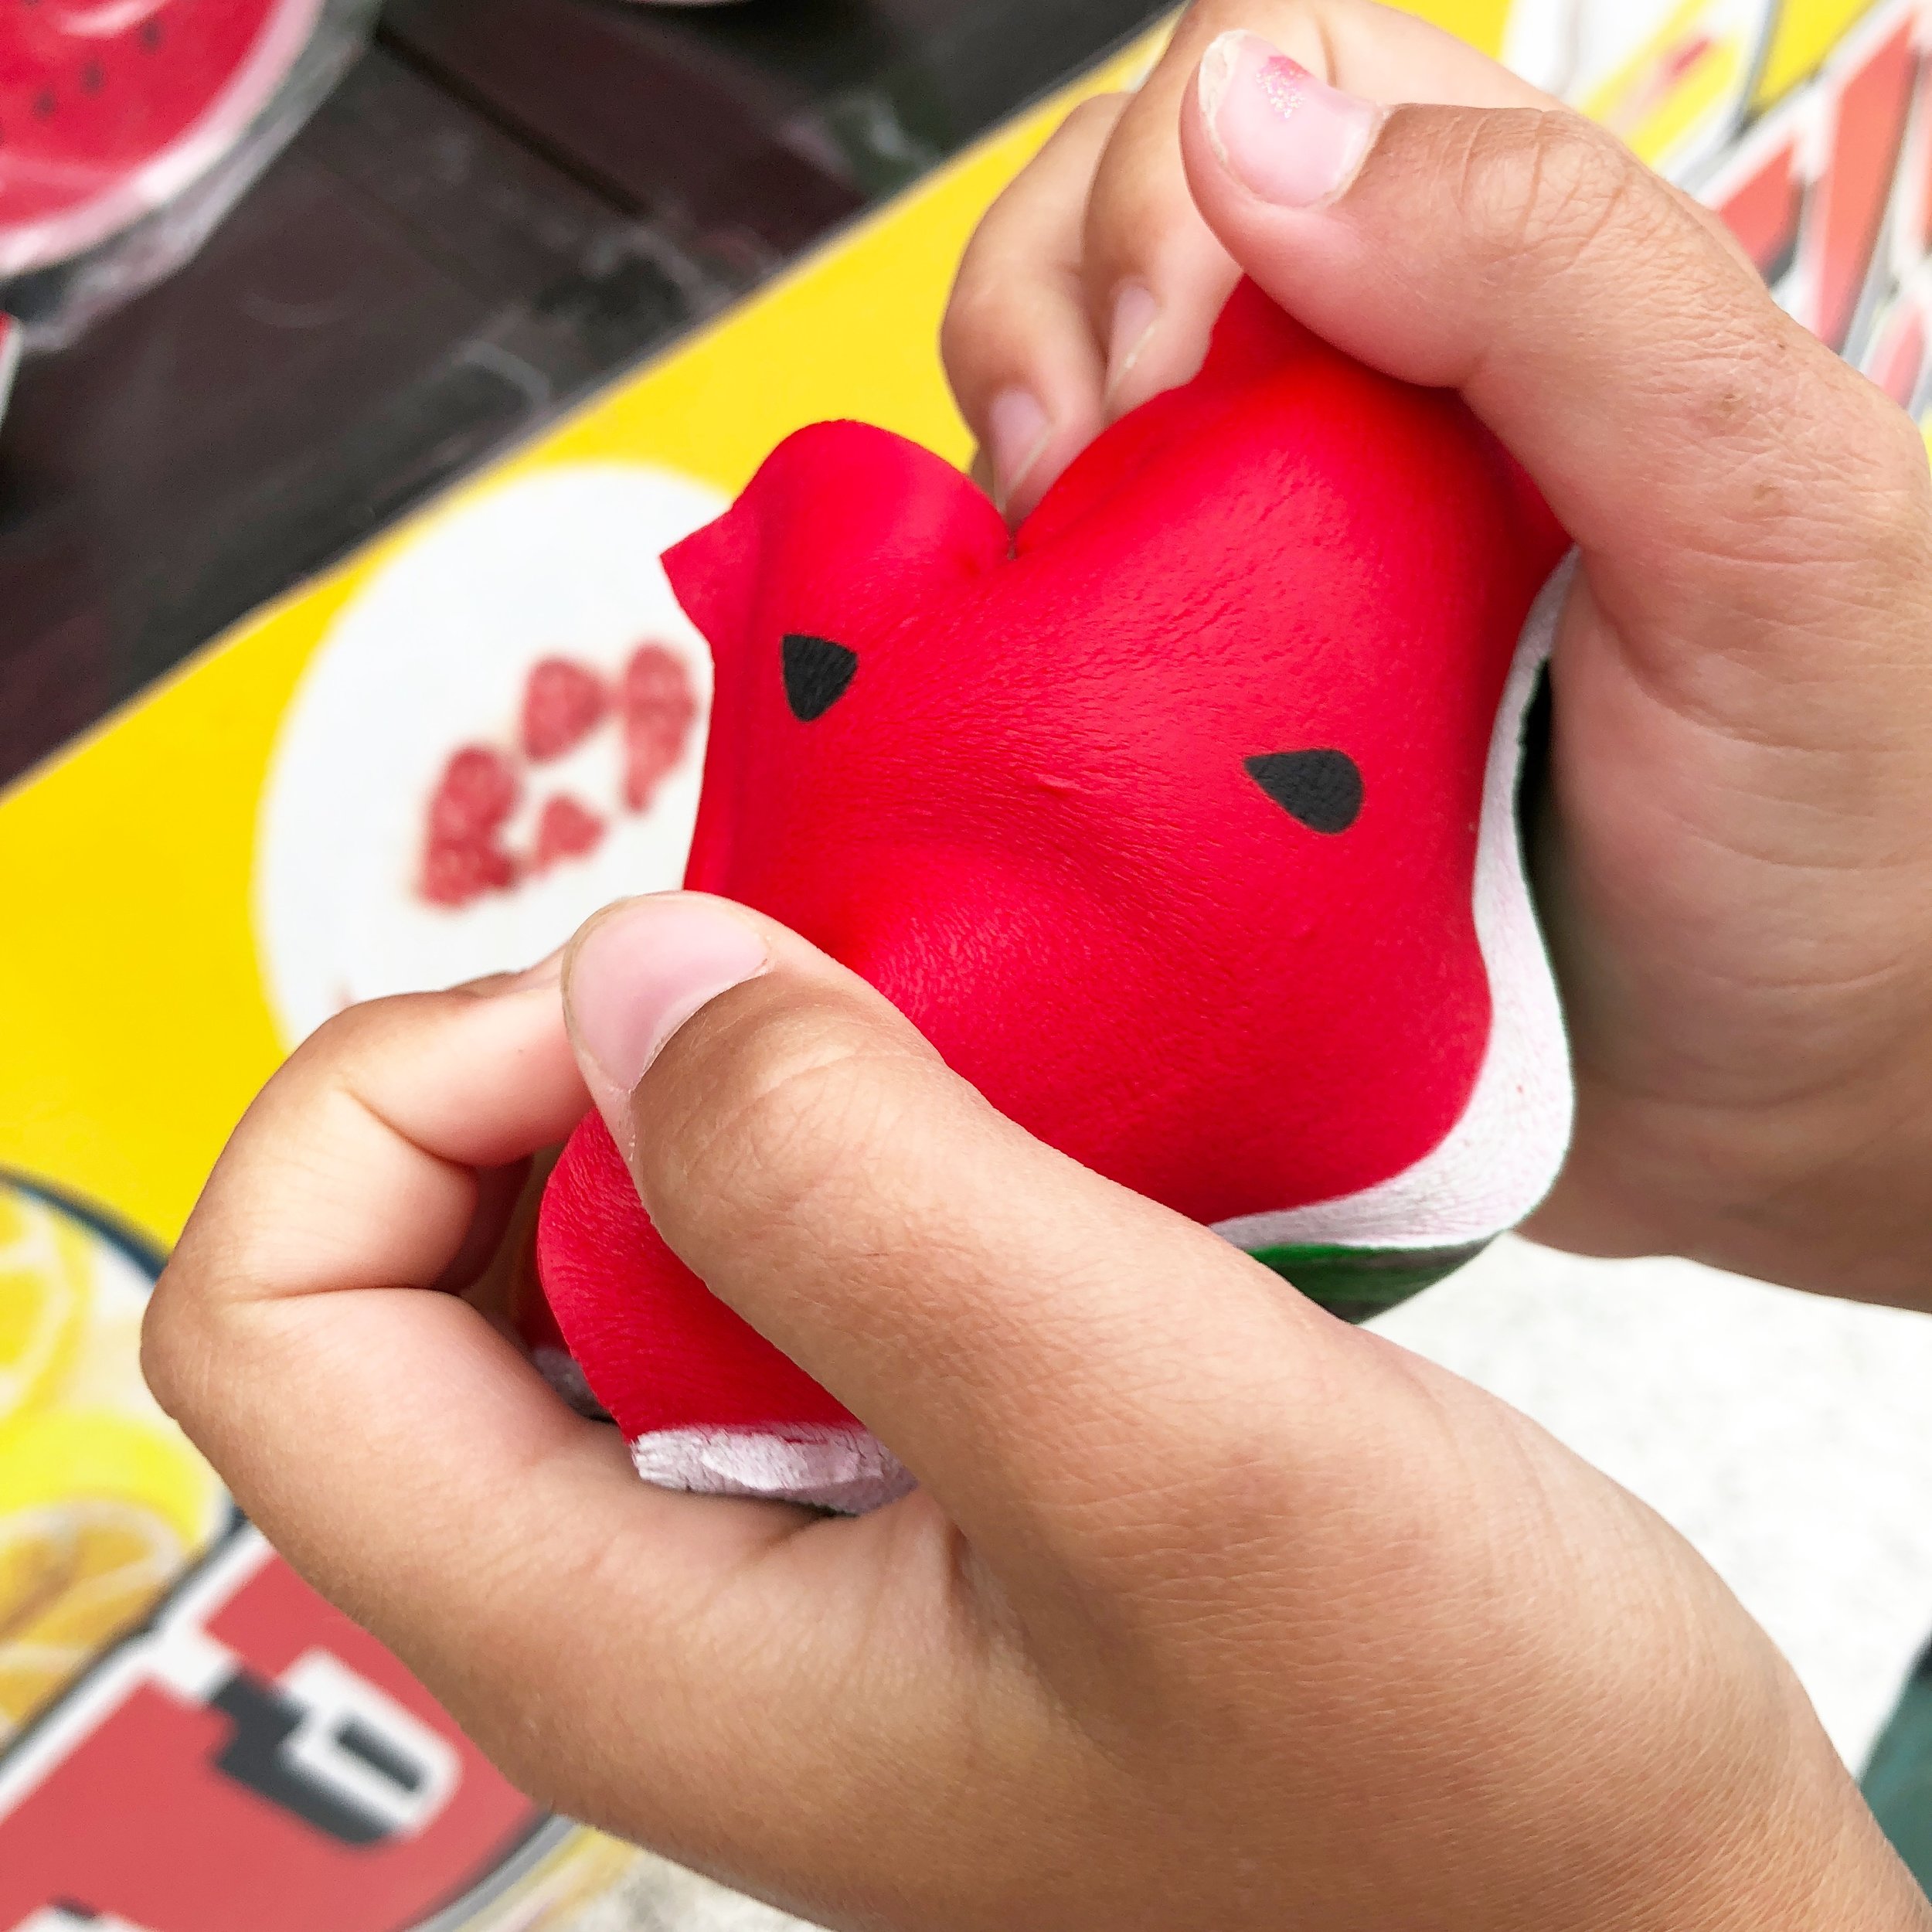
There was a quick pitstop past a squishy shop (if you don't know what these are, do yourself a favour and NEVER show your kids - they are really expensive stress balls that your pets will eat and you will spend every working hour trying to replace so they don't notice) and then..... We were done!

IMG_0740.JPG

Seven and a half hours spent at Lakeside Joondalup, one very full trolley, three ice creams, one impressive bathroom break (they have great Parent's Rooms that are incredibly clean) six very tired feet, and a combined total of 38 972 steps we were done (and my car was ready)!

IMG_0742.JPG
IMG_0760.JPG
MASTERING THE MASTERCLASSES
IMG_2071.jpg

Wowzers! I am completely blown away by the love from all my student's these school holidays.

IMG_2077.jpg

I loved every second of working with the kids and creating some cool stuff. I have to admit, after every class I am zonked as I really do put my whole heart and soul into every second, but on the flipside, there is nothing more rewarding than watching their joy and their self-confidence grow as they create masterpieces.

IMG_1909.JPG

Since the very first (polymer clay) class I ever taught, I have been inspired to keep the workshops fresh and exciting and "on trend" for the kids that really love the current trends I try and work into each workshop whilst teaching real skills and techniques... This batch of workshops was no exception.

IMG_1937.JPG

Beads and Bows was filled with a lot of creative energy. The bows were fiddly and I think all the kids were shocked at how tricky making a "real bow" could be but all eventually grasped the technique and I was pleased to see some of the students who returned to the second workshop wearing some bows they'd created during the week at home.

IMG_2123.jpg

The Room Decor Masterclass was the first one in this genre I had done (crazy, when my "day job" is interior design for kids) and it was a smashing success. We made Kawaii-inspired jars, re-usable wall planners and some stunning holographic clocks.

IMG_2106.jpg

All-in-all, the days were a massive success and I will soon be releasing the next schedule with Scrapbooking, Boutique (and funky) Doll House Decorating, Room Decor (different projects to this round) and something for the younger ones too.

IMG_2096.jpg

A massive thank you to all of you that trusted your kids in my care and to my gorgeous students for putting up with my bad jokes and wonky bathroom tap!

IMG_2207.jpg
IMG_2206.jpg
IMG_2212.jpg
IMG_2249.jpg
Christie Blizzard
#EmojiMovie
IMG_1554.JPG

This morning, we were guests at the Emoji Movie premiere. Taking a bunch of kids to the movie is no mean feat - especially when there were emoji doughnuts on offer.

Berkley (5) invited her BFF Emma and her new BTFs (best twins forever) Mila and Avia - it was their first time ever at the movies! Addison (9) enjoyed the fun with Hannah, her long time movie-watching companion. There was an inflatable castle, MYO emoji mask and even some spunky (temporary) emoji tattoos.

IMG_1535.JPG


The movie was so good. To be honest, I think the adults enjoyed it more than the kids - loads of very clever jokes and funny moments you'd miss if you blinked. It was a fabulous way to spend a Sunday morning and all the colour and fun on screen inspired me to compile my favourite Emoji finds I have spotted lately:


smiley.jpeg

Addi has these. Comfy, fun and stylish and a steal for $24.95

42353041-1-f.jpg

Kmart's doughnut beanbag. A steal at just $19.

uno-emoji.jpg

$11.99 plus postage from Mr Toys Toyworld

BP80401421-yellow-black.jpg-SPOTWF-product.jpg

For just $4.99 you can patch or decorate any fabric item until your heart is content (and there are loads of different emojis available too)!

20214833-08-FT-LL.jpg

Every kid's favourite emoji. The poop. $11.99

10704l_10704l_blnp_00_skx_61722.jpg

Skechers

$89.95 in grade-school sizes

Screen Shot 2017-09-10 at 6.59.04 pm copy.png

Cotton On Kids have launched a great range of Emoji stuff. This is one of my fave's at just $24.95

Christie Blizzard#EmojiMovie
Speedy Making

As I was ushering the girls out the door for school, Addison (9) says "if you get a minute today can you please put our name on the towels like you promised", in her pleading voice. 

Oops. Yet another great idea I had on the run that I didn't mentally commit to and accidentally said out loud.

So, I delivered. 

IMG_1430.JPG

Each towel cost me $9 from Kmart and I embroidered it using my trusty old machine and some copper thread I have had here (untouched) for about 12 years!


IMG_1432.JPG
Christie Blizzard
SCHOOL HOLIDAY FUN

I had a blast with the latest round of school holiday craft workshops. This time around, the age was restricted to 8 and up and this allowed us to spend a lot longer creating, learning more intensive skills.

We worked on Polymer Clay, Weaving, Crochet and Embroidery and the kids all got to take home a large craft kit so they could keep creating all holiday long. 

The crochet was really tricky for everyone, but by the end we had some very basic skills and the same kids went on to make some stunning embroidered hoops in the afternoon. For the polymer clay, we made beads and it was so exciting to see the different creations all the kids made with the same supplies. The weaving was a lot of fun and was great for the kids to create unique wall-art.

I have really enjoyed receiving text messages and emails since, seeing all the creations that continued into the holidays and hope my next round of workshops is just as inspiring.

I love to create with kids and really welcome any suggestions or expressions of skills you'd like to see me teach as I prepare for the next workshops for the September / October break.

Christie Blizzard
DIY Unicorn Rug

I saw a cute unicorn rug creation online and was inspired to make it my own (and a bit more affordably too).

Time takes: 20 minutes, plus cleanup as fur will go everywhere!

Total cost $35

What you need:

  • Hot Glue Gun
  • Scissors
  • Marker
  • Small piece of black felt
  • Rope (I bought a gold curtain tie-back from Spotlight for $9.99)
  • 1x Piece of faux fur (I bought a pencil case from Kmart for $5)

First, flip white fur rug over and draw shape of unicorn head - I just narrowed the shape that was there. 

IMG_9541.JPG
IMG_9542.JPG

Next, cut open the sides of your pencil case to lay it open and flat (or take your faux fur and lay flat). On the back, trace the shape of the unicorn maine and cut out.

Next, take your rope (or in my case, gold curtain tie), and trim one end to a point. Use hot glue to seal it so it does not fray.


Don't worry if it is a bit messy, once it dries you can neaten it up with a pair of scissors. Snip a small hole in the reverse side of the mane and push the rope trough. Secure on reverse side with more hot glue.

Adding ears is optional. As I had a cute pair on the pencil case, I cut these off and glued to the mane.

Glue the ears to the front of the fur mane and using your hot glue gun, adhere mane to the right side of the white fur rug.

Using a marker, draw an eye on your back felt. Fold in half and cut two identical shapes. Glue these on to the unicorn to form her face.

Select the perfect spot for your rug, and voila! Job done!!!!

Christie Blizzard
Speed Sewing

Having tried speed sewing at the #brother speed sewing challenge for the Perth Quilt and Craft Fair, it is clear it is not my forte.


Christie Blizzard
Rainbow Connection
IMG_8534.JPG

Berkley, my 4 year old had one wish for her 5th birthday, a rainbow room.

My inner-designer cringed. She wanted butterflies, ladybugs and more. I wanted greys, pinks and pretty and she wanted bold, primary colours and a cliche wall mural.

Of course, I couldn't let her down so I set to work to make her dream come true.

One of the biggest hurdles for me was how to get a presentable rainbow on her wall. I don't like to waste time practicing, so I went for it with finger's crossed and lucky for me it worked!

I simply mixed some colours in a small paint tray and rolled straight on to the wall where I needed her rainbow (in this case, the rainbow acted as an edge between the two themes in her room).

I made her room a "day / night" room. She has a sleeping zone - pink, grey and very classic. She has a play zone - bright, filled with colour and of course, butterflies and ladybugs.

Christie Blizzard
#Shelfie

I am a perpetual renovator. 

This current home renovation has taken the better part of two years and of course, it's ongoing.

We replaced the back slept with a larger space, containing the living area, kitchen and dining. As with most renovations, the cost and timeframes swallowed us for a little bit and things like my open-plan shelving that I had dreamt of ended up on the back-burner.

Until, I had a bright idea.

I purchased 5 open shelving units from Ikea at $89 each. With an angle grinder and a helpful hubby, the legs came off and they were mounted on the wall.

Easy, strong, stylish and best of all AFFORDABLE my Ikea hack meant all my goodies shoved in  boxes in the garage now adorn the shelving and make my time in the kitchen that little bit more bearable.


Christie Blizzard
Making a Room

When my daughter Addison asked for a new bedroom for her ninth birthday, she wasn't joking. She wanted a new room - as in a new space, new walls, new everything.

You see, we bought our current home several years back, and it has never really flowed properly. Her existing bedroom was the old kitchen and she knew that this wasn't her "forever" room. We divided what was the original living room for her and created her new, improved bedroom (this I will cover in another blog soon).

Addi is a dream client. She knew what she wanted, but was open to ideas. We sat and looked at Pinterest. We visited stores and surfed the web. She loved a lot of Pottery Barn Kids products, but wait times and budget meant some of these items weren't possible. However, a lot of inspiration was drawn from their range.

One thing Addi was clear about was her "need" for a fluffy chair. What with walls, insulation, BIRs, a new desk, rug etc etc, a $300+  chair just wasn't going to happen. So, I cam up with the next best thing.... Kmart!

I bought this fabulous Montreal Office Chair for $39 (it is super comfy) and two faux fur rugs (one to cover the front, one the back) and created my PBK fur chair knock off. Here's how to get the look, for a fraction of the cost:

IMG_7335.JPG

Lay the chair on the rug and roughly trace the shape of the chair with a bit of extra room to wrap the sides. Cut the shape out (if you're worried, always cut bigger and trim later).

Ensure that the circle base fits properly before you move on to the next step.

Ensure that the circle base fits properly before you move on to the next step.

Using a hot glue gun, glue the cut rug to the back of the chair, wrapping under and securing around the circle. Be sure to wrap the sides over too, as pictured.

Using a hot glue gun, glue the cut rug to the back of the chair, wrapping under and securing around the circle. Be sure to wrap the sides over too, as pictured.

Flip the chair over, cut the second rug as you did the first, but to fit the front side of the chair. Hot glue to the front of the chair.To secure the two rugs, get a long needle and white cotton and sew both rugs together. If you are not a strong s…

Flip the chair over, cut the second rug as you did the first, but to fit the front side of the chair. Hot glue to the front of the chair.

To secure the two rugs, get a long needle and white cotton and sew both rugs together. If you are not a strong sewer, you can use more hot glue and trim rug excess.

Once both side of the chair are covered, assemble as per Kmart instructions and VOILA!!!! A pottery Barn Kids fur chair for $87!